
How to install decorative wall panels safely
Introduction
Decorative wall panels are a highly effective way to transform the aesthetic of a room, adding texture, depth, and character to plain surfaces. Whether you are looking to install wood slats, 3D polymer panels, or upholstered elements, these features can serve as a sophisticated focal point in a living room, bedroom, or home office. Because these installations often involve heavy materials or complex mounting systems, understanding the correct procedure is essential for a professional finish.
Installing these panels requires more than just aesthetic vision; it demands careful preparation to ensure the panels remain securely attached to the wall for years. Doing it correctly prevents common issues such as peeling, cracking, or even structural damage to your drywall. By following a systematic approach, you can achieve a high-end look while maintaining the integrity and safety of your home's interior surfaces.
Selecting the right panel material
Before beginning the installation, you must identify the material of your chosen panels, as each requires a different mounting strategy. Decorative panels are typically categorized into three main groups: lightweight materials like PVC or thin wood veneers, medium-weight options such as MDF (Medium Density Fiberboard), and heavy materials including solid wood, stone, or thick acoustic panels.
Choosing the wrong adhesive or fastening method for your specific material is a common cause of installation failure. For example, lightweight 3D panels might only require a high-quality construction adhesive, whereas heavy solid wood slats will likely need a combination of adhesive and mechanical fasteners like screws or hidden clips. Always check the manufacturer's specifications to determine if the panel is designed for a specific wall type, such as masonry, drywall, or plaster.
Preparing the wall surface
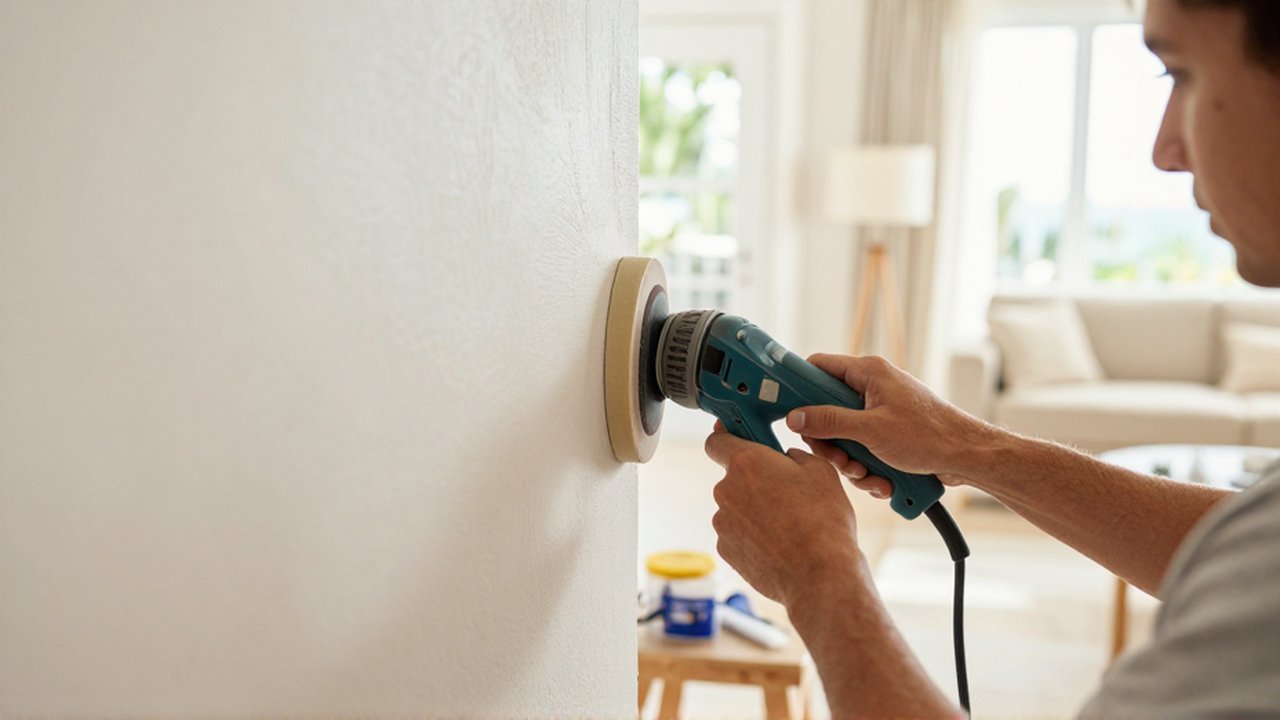
A successful installation depends entirely on the state of the wall underneath the panels. An uneven, dusty, or damp surface will cause the adhesive to fail, leading to panels sagging or falling off entirely. Start by cleaning the wall thoroughly to remove all traces of dust, grease, and old paint flakes. If you are installing panels in a high-humidity area of the home, ensure the wall is completely dry and treated to prevent moisture from being trapped behind the new decorative layer.
If the wall has significant imperfections, such as deep cracks or large bumps, you should apply a smoothing compound and sand it down before proceeding. For very uneven surfaces, you might need to install a "furring strip" system—thin strips of wood attached to the wall first—to create a perfectly flat plane for the panels to sit on. This extra step adds stability and ensures the final visual result looks seamless and professional.
Essential tools and safety equipment
Safety is paramount when working with tools that require precision or involve heavy lifting. You should always wear eye protection when cutting panels and a dust mask if you are sanding or drilling into masonry. Depending on the material, you may also need ear protection if using power saws or drills.
A standard installation toolkit should include:
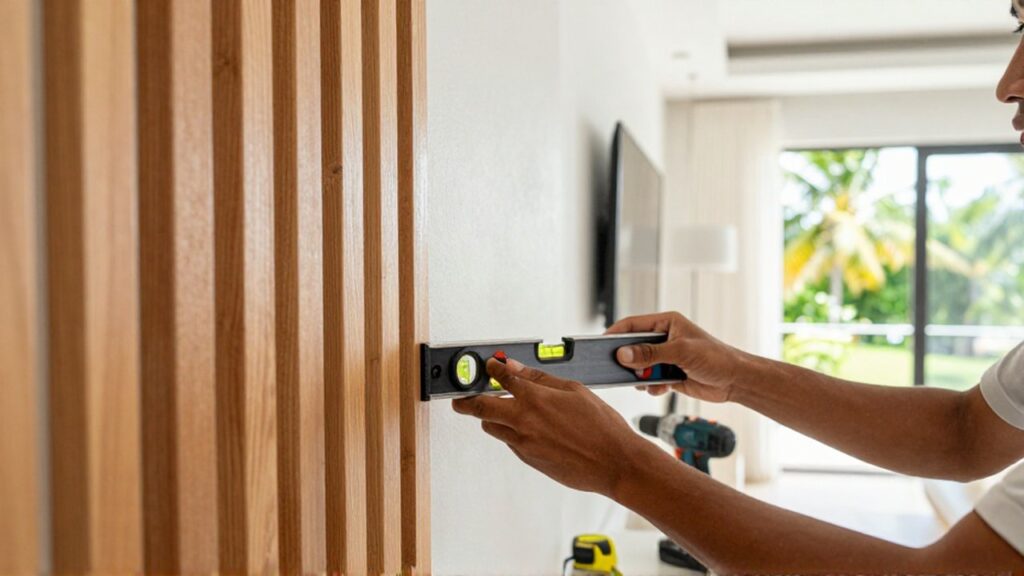
- Measuring tools: A level (essential for straight lines), a tape measure, and a pencil.
- Cutting tools: A miter saw for wood, a utility knife for foam or PVC, or a fine-tooth hand saw.
- Application tools: A caulking gun for adhesive and a hammer or drill for mechanical fasteners.
- Alignment tools: Spacers to maintain consistent gaps between panels and a spirit level to prevent crooked installations.
Step by step installation process
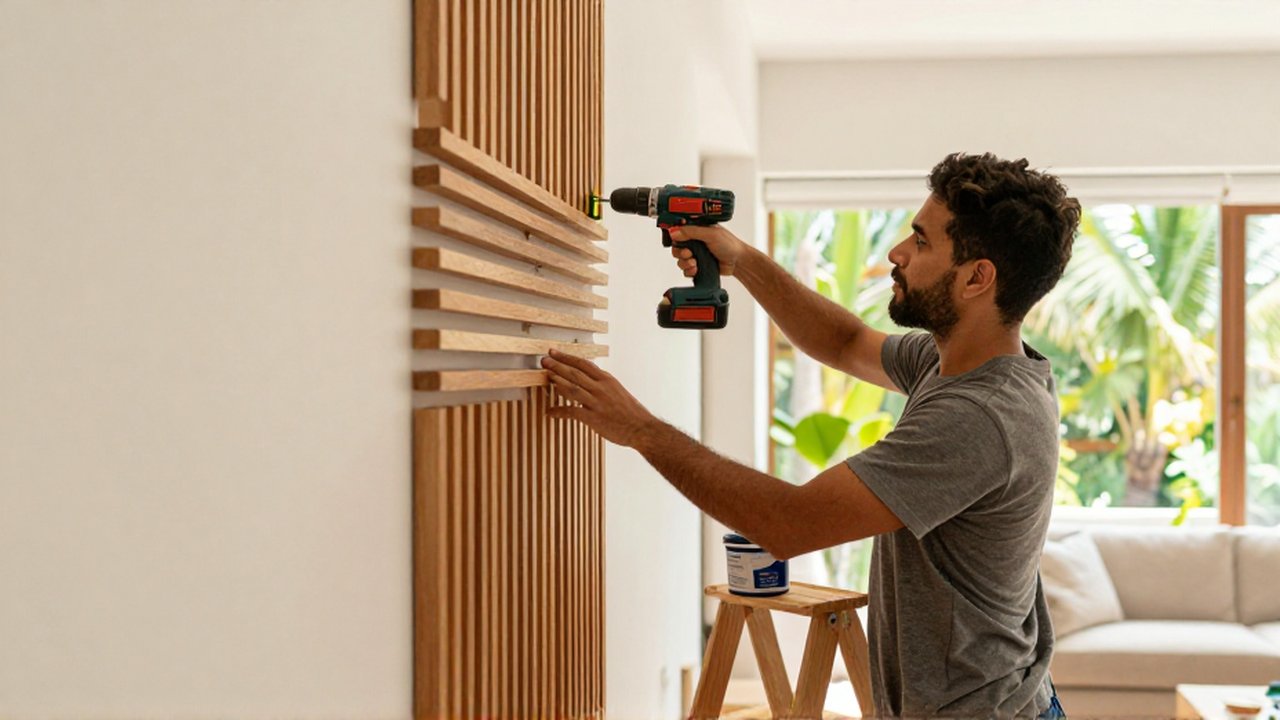
The installation process should follow a logical sequence to minimize errors and reduce the need for corrective work.
First, create a layout plan. Do not start at one corner and hope for the best; instead, find the center point of your intended installation area and work outward. This ensures that if you reach the edges of the wall, the panels are trimmed symmetrically, creating a balanced look. Use a level to draw a perfectly vertical guide line on the wall to serve as your starting point.
Second, apply the adhesive or prepare the mounting hardware. If using adhesive, apply it in a consistent pattern—usually beads or dollops—to ensure full coverage without creating large gaps that could cause the panel to bow. If you are using mechanical fasteners, pre-drill holes in the panels to prevent the material from splitting, especially when working with hardwoods or MDF.
Third, carefully position the first panel against your guide line. Press it firmly against the wall to activate the adhesive. If using a heavy panel, it is helpful to have a second person hold it in place while the adhesive sets. Once the first panel is secure, use spacers to maintain a uniform distance from the next piece, then repeat the process until the entire section is covered.
Avoiding common installation mistakes
One of the most frequent errors is failing to account for expansion and contraction. In regions with significant temperature or humidity shifts, materials like wood will expand. If you install panels too tightly against each other or too close to the ceiling and floor without leaving a tiny "breathing" gap, the panels may buckle or warp over time.
Another mistake is neglecting to check for hidden utilities. Before drilling into any wall, use a stud finder with a voltage detector to ensure you aren't drilling into electrical wires or plumbing pipes. Additionally, avoid using excessive amounts of adhesive; too much glue can squeeze out of the seams, creating a messy cleanup and potentially staining the face of your decorative panels.
Frequently asked questions
Can I install decorative panels over wallpaper? It is generally not recommended. Adhesive sticks much more reliably to a clean, hard surface like drywall or plaster. If you must install over wallpaper, you should remove the wallpaper first to ensure the panels are anchored to the actual wall.
How do I hide the screws in wood panels? To achieve a seamless look, use "trim heads" or "finish nails" that are small enough to be driven below the surface of the wood. Once the nail is in, you can fill the tiny hole with a matching wood filler and sand it smooth before applying a finish.
Will these panels help with soundproofing? While many decorative panels (especially felt or thick acoustic varieties) are designed to absorb echoes and improve room acoustics, they are rarely a complete solution for blocking sound from traveling between rooms. They primarily function to improve the sound quality within the room itself.
Leave a Reply