
How to fix water damage on ceiling plaster
Introduction
Water damage on a plaster ceiling is a serious issue that affects both the structural integrity of your home and its aesthetic appeal. When moisture penetrates the ceiling, it can cause the plaster to soften, crack, swell, or even crumble away from the lath underneath. Addressing this damage promptly is essential to prevent the growth of mold, which can impact indoor air quality, and to avoid more expensive structural repairs caused by sagging or collapsing sections.
Repairing a damaged plaster ceiling is a multi-step process that involves identifying the source of the leak, treating the affected area, and restoring the surface finish. This guide provides a practical framework for assessing the level of damage and executing the necessary repairs to ensure a smooth, durable result. Whether you are dealing with a small stain or a larger patch of peeling plaster, understanding the correct sequence of actions is vital for long-term success.
Diagnose the source of moisture
Before any physical repair work begins, you must identify and stop the source of the water. Applying new plaster over a damp surface is a common mistake that will lead to immediate failure and recurring damage. In many tropical climates, water ingress often stems from roof leaks, faulty gutter systems, or plumbing issues in the floor above.
Inspect the area around the damage for signs of recent rainfall or pipe drips. If the ceiling is still damp to the touch, you must wait until the leak is professionally repaired and the plaster has completely dried. Use a moisture meter if available, or simply wait several days of dry weather to ensure the substrate is stable. Attempting to patch a ceiling that is still absorbing moisture will cause the new material to crack and peel.
Assess the extent of the damage

Determining whether you can perform a simple patch or if you need to replace a larger section depends on the state of the plaster and the lath. You can evaluate the severity by following these criteria:
| Damage Level | Visual Indicators | Required Action |
|---|---|---|
| Minor | Small surface stains, hairline cracks, or slight discoloration. | Clean, prime, and repaint. |
| Moderate | Bubbling paint, localized crumbling, or soft spots. | Scrape away loose material and apply plaster patch. |
| Severe | Large sagging sections, deep holes, or widespread crumbling. | Remove damaged section and install new plaster/lath. |
If the plaster feels "spongy" or if you can push it easily with a screwdriver, the bond between the plaster and the wood lath has been lost. In these cases, the material must be removed entirely to prevent it from falling unexpectedly.
Prepare the damaged surface
Once the leak is resolved and the ceiling is dry, you must prepare the area for restoration. Start by scraping away all loose, flaking, or bubbling plaster using a putty knife or a handheld scraper. Continue scraping until you reach a firm, solid edge. If the edges of the remaining plaster are jagged, use a utility knife to carefully score a perimeter around the damaged area; this helps the new patch sit more flush with the old surface.
After scraping, vacuum the area thoroughly to remove all fine dust and debris. Any remaining dust will prevent the new plaster from adhering correctly. If there are signs of mold or mildew, clean the area with a dedicated antimicrobial solution and allow it to dry completely before proceeding.
Apply plaster and finish the surface

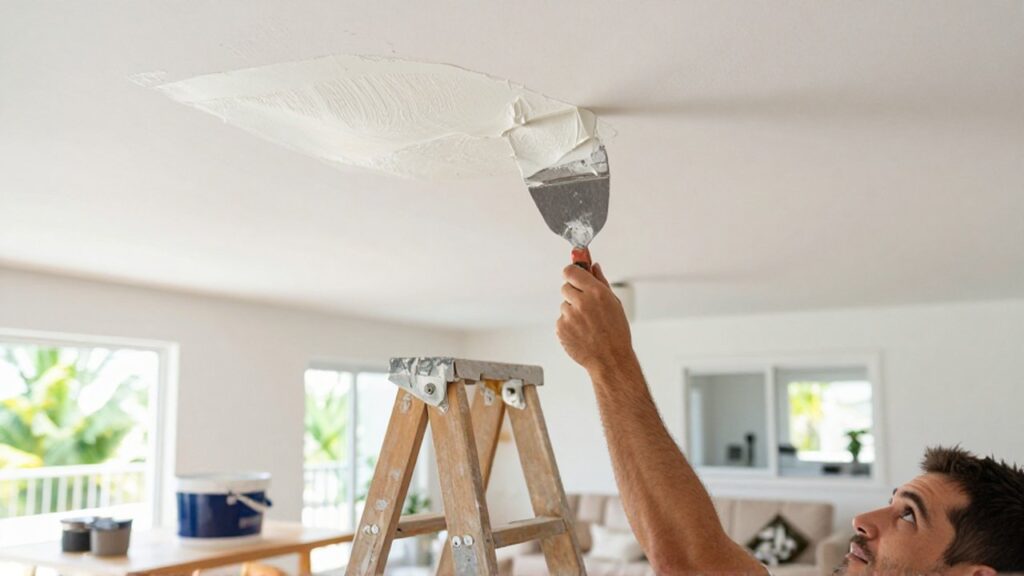
For moderate repairs, use a high-quality joint compound or a pre-mixed setting-type plaster. If you are filling a hole, you may need to apply the material in multiple thin layers rather than one thick application. Thick layers are prone to shrinking and cracking as they dry.
- First Coat: Apply the plaster using a wide putty knife, pressing it into the damaged area to fill the void. Leave the surface slightly uneven to allow for expansion.
- Drying Phase: Allow the first coat to dry completely. This may take several hours or overnight depending on humidity levels.
- Second Coat: Apply a wider, thinner layer of plaster that overlaps the edges of the first coat. This "feathering" technique helps blend the patch into the existing ceiling.
- Sanding: Once the final coat is dry, use fine-grit sandpaper to sand the area until it is perfectly smooth and flush with the rest of the ceiling.
Seal and repaint for a seamless look
A common mistake in ceiling restoration is skipping the priming stage. Plaster is highly porous and will absorb paint unevenly if not sealed first. Use a high-quality primer designed for drywall or plaster to create a uniform base. This ensures that the color remains consistent across the patch and the rest of the ceiling.
After the primer has dried, apply two coats of ceiling paint. To ensure the repair is invisible, it is often best to paint the entire ceiling from wall to wall rather than just "spot painting" the patch, which can leave visible outlines known as "flashing."
Frequently asked questions
Can I use regular wall paint to cover water stains? No, water stains often contain tannins or minerals that will bleed through standard paint. You must use a stain-blocking primer before applying your final color to ensure the mark does not reappear.
How do I know if the plaster is structurally safe? If you notice significant sagging or if the ceiling makes cracking sounds, the structural integrity may be compromised. In these instances, do not attempt a DIY fix; consult a professional to avoid the risk of a ceiling collapse.
How long should I wait before repairing a damp ceiling? You should wait until the material is completely dry to the touch and shows no signs of moisture accumulation. In humid environments, this may require several days of active ventilation or the use of a dehumidifier.
Leave a Reply