
How to repair ceramic floor tiles in bathrooms
Introduction
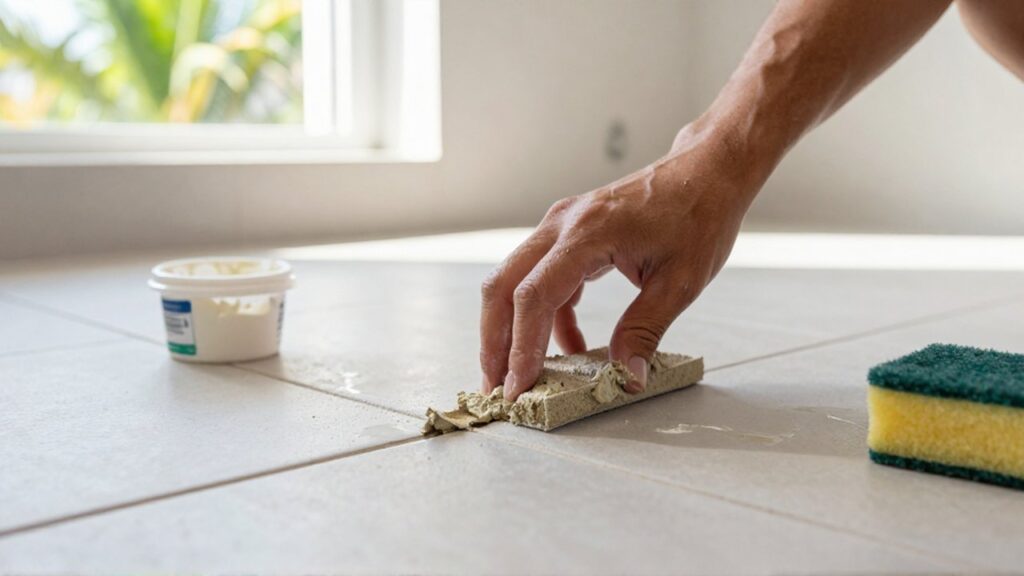
Ceramic bathroom tiles often face constant challenges due to high humidity, frequent temperature shifts, and heavy foot traffic. Over time, it is common to encounter cracked, chipped, or loose tiles that can compromise the aesthetic appeal and safety of your bathroom floor. Repairing these issues promptly is essential to prevent water from seeping beneath the tiles, which can lead to structural damage, mold growth, and much more expensive renovations in the future.
Knowing how to perform these repairs allows homeowners to maintain a hygienic and beautiful space without necessitating an immediate, full-scale bathroom remodel. Whether you are dealing with a minor hairline crack or a single broken tile that needs replacement, the repair process requires patience, the right tools, and a methodical approach. This guide provides a clear roadmap for diagnosing tile damage and executing the necessary fixes to restore your bathroom floor.
Assessing the extent of tile damage
Before starting any repair, you must determine if the problem is localized to a single tile or if it indicates a larger foundational issue. Examine the affected area closely to see if the damage is limited to the surface of the ceramic or if the tile has become loose or "hollow" when tapped with a tool. A hollow sound often indicates that the adhesive or thin-set underneath has failed, likely due to water infiltration or subfloor movement.
If only the grout lines are cracked or discolored, the repair is simply a matter of regrouting. However, if the ceramic itself is shattered, you will need to replace the tile entirely. In cases where multiple tiles are lifting or cracking in a pattern, this might suggest a sinking subfloor or significant settling of the house, which may require professional intervention rather than a DIY fix.
Necessary tools and materials for tile repair
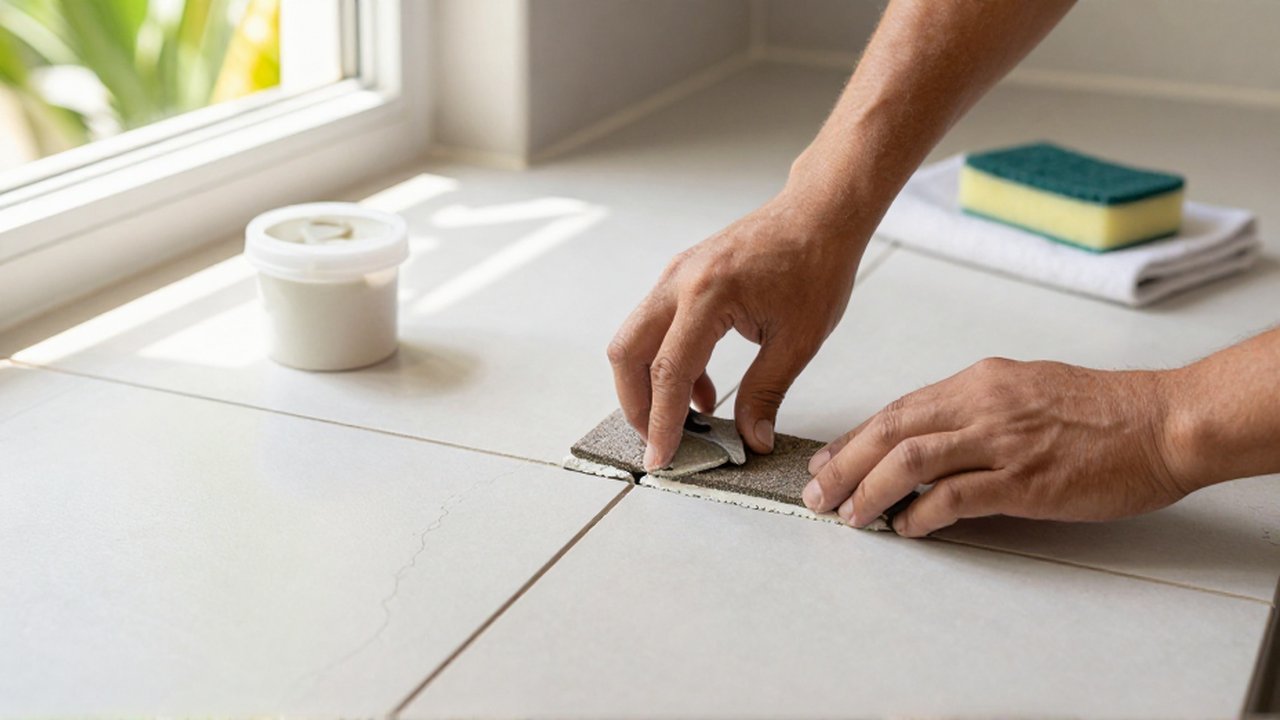
To successfully complete a tile repair, you will need to gather specific materials. The exact items may vary depending on whether you are fixing grout or replacing a broken tile, but the following are standard requirements:
- Grout saw or small chisel: For removing old, damaged grout.
- Replacement ceramic tiles: It is highly recommended to have spares from the original installation to ensure a perfect color and texture match.
- Thin-set mortar: The adhesive used to bond the new tile to the subfloor.
- Grout: Matching the color and type (sanded or unsanded) of your existing floor.
- Tile spacers: To maintain even gaps between tiles.
- Rubber grout float: For applying grout smoothly into the joints.
- Sponge and microfiber cloth: For cleaning excess grout and smoothing the surface.
- Small hammer and masonry chisel: If a physical tile must be removed.
Steps to replace a broken ceramic tile
When a tile is cracked or chipped beyond repair, the most effective solution is replacement. This process involves removing the damaged unit and installing a new one in its place.
First, remove the grout surrounding the damaged tile using a grout saw or a small chisel. Be extremely careful not to damage the edges of the surrounding healthy tiles. Once the grout is cleared, use a hammer and chisel to gently tap the broken tile from its center, working your way toward the edges until it can be lifted out. Use a vacuum or a stiff brush to thoroughly clean the subfloor of all dust and old adhesive remains.
Next, mix a small amount of thin-set mortar according to the manufacturer's instructions. Apply a layer of mortar to the back of the new tile or directly onto the cleaned subfloor using a notched trowel. Lay the tile into the space, ensuring it is level with the surrounding floor. Use tile spacers to keep the gaps consistent. After the mortar has set for the recommended time (usually 24 hours), proceed to the grouting phase.
How to regrout damaged joints
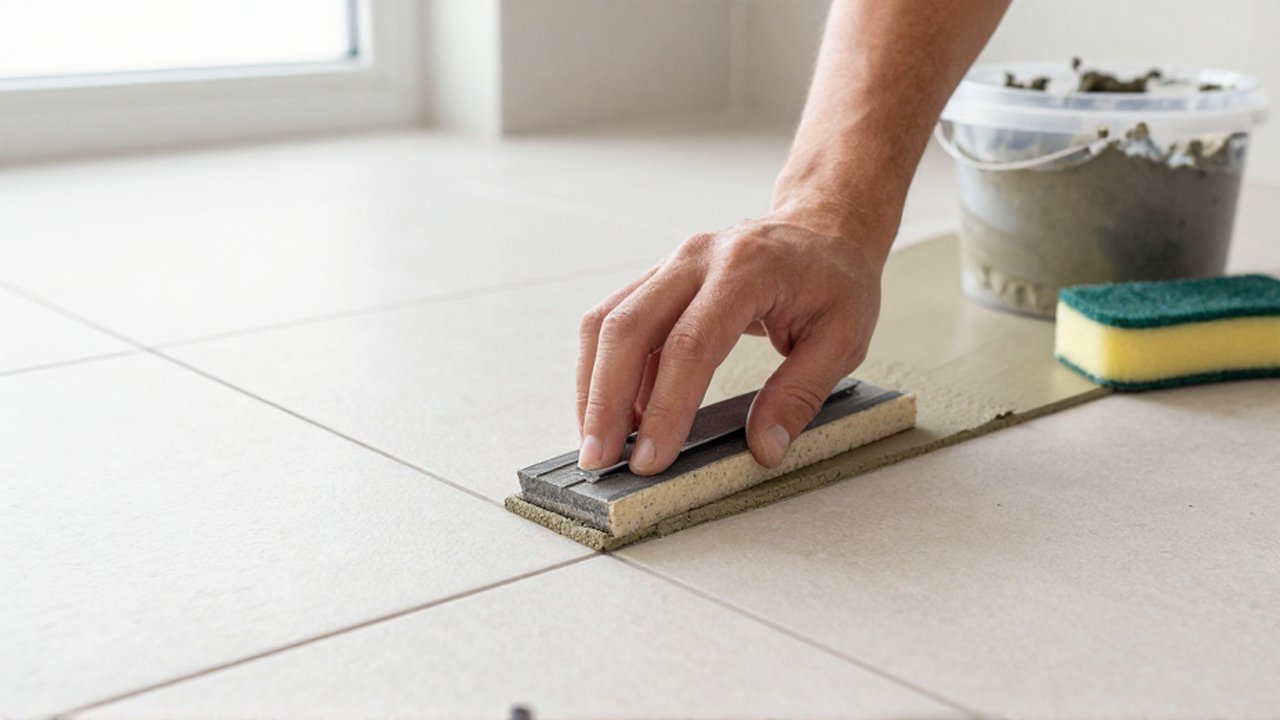
Regrouting is often the most effective way to handle discoloration or small cracks in the spaces between tiles. This is vital in bathrooms because grout acts as a secondary barrier against moisture.
Start by scraping out the old, damaged, or moldy grout using a grout saw. Ensure you remove enough depth to allow the new grout to bond properly. Once the joints are clean and dry, mix your new grout to a paste-like consistency. Using a rubber grout float, push the grout firmly into the joints at a 45-degree angle to ensure no air pockets remain.
After waiting for the specified amount of time, use a damp (not soaking wet) sponge to wipe away the excess grout from the tile surfaces. Continue cleaning until the tiles are clear and the grout lines are smooth and even. Allow the area to dry completely before using the shower or exposing the floor to water.
Common mistakes to avoid during repair
One of the most frequent errors is failing to ensure the subfloor is completely dry and clean before applying new adhesive. Any leftover dust or moisture will prevent the thin-set from bonding, causing the new tile to pop up later. Another common mistake is using too much water when cleaning grout; excessive moisture can weaken the grout and lead to premature cracking or staining.
Additionally, many people attempt to patch a crack in a tile with colored caulk or paint. While this may look acceptable temporarily, it is not a structural fix and will quickly peel away in a high-humidity bathroom environment. Always aim for a permanent solution through replacement or proper regrouting to ensure the longevity of your floor.
Frequently asked questions
How long does it take for repaired grout to dry? Most grout requires at least 24 to 72 hours to cure fully before it should be exposed to water or heavy cleaning. Always check the packaging of the specific product you are using.
Can I replace just one tile if I don't have spares? It is difficult to find an exact match for an existing tile once it has been manufactured. You can attempt to find a similar color and size, but there may be slight visual discrepancies in texture or shade.
Why is my bathroom grout turning black? Black spots in the grout are typically a sign of mold or mildew caused by trapped moisture. This indicates that the grout has become porous or that there is a leak beneath the tiles.
Is it safe to repair tiles myself? If the damage is limited to a single tile or the grout lines, it is a manageable DIY project. However, if you notice large sections of the floor shifting or multiple tiles cracking simultaneously, you should consult a professional to check the subfloor integrity.
Leave a Reply