
How to clean grease buildup from kitchen exhaust fans
Introduction
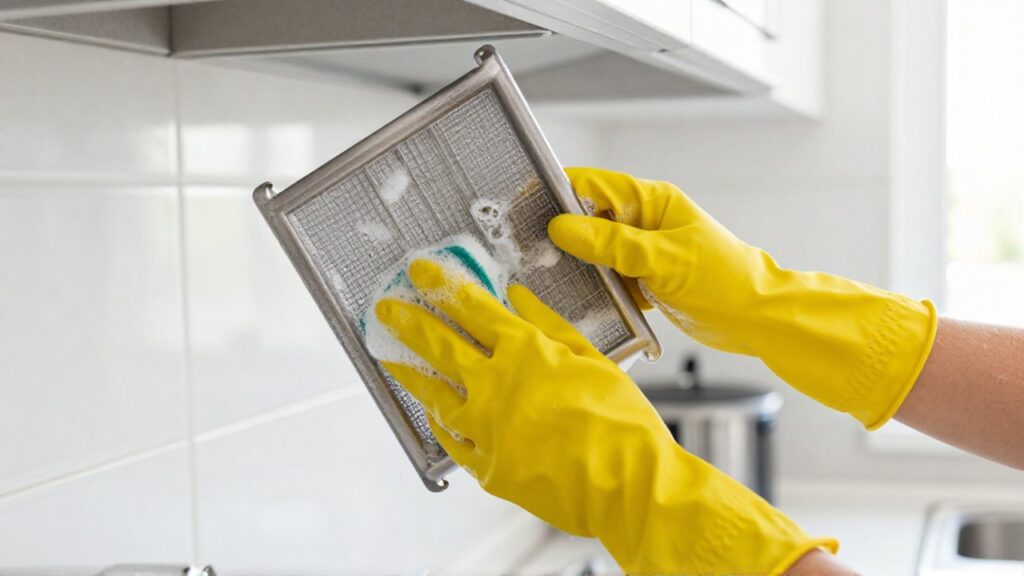
Kitchen exhaust fans play a vital role in maintaining a healthy and comfortable home environment. By pulling steam, smoke, and airborne grease particles out of the kitchen, they prevent odors from lingering and protect your walls and cabinetry from sticky residue. However, over time, the filters and fan blades inevitably accumulate a thick, stubborn layer of solidified fats and oils.
Neglecting this buildup can lead to significant issues, including reduced suction power, increased noise levels, and a higher risk of fire due to flammable grease accumulation. Regular maintenance is essential to ensure your ventilation system operates efficiently and your kitchen remains hygienic. Cleaning these components should be done whenever you notice a visible layer of grime or if the fan seems less effective at removing steam during cooking.
Why grease accumulates on exhaust fans
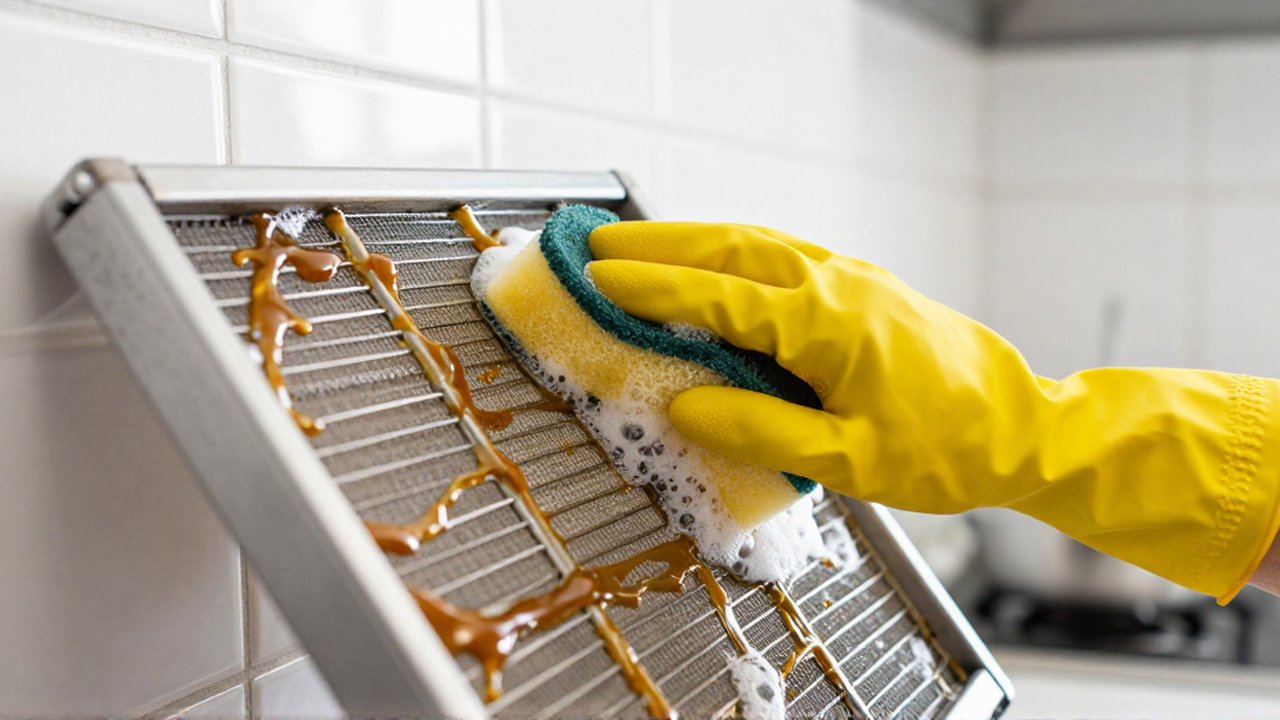
As you cook, oils and fats are released into the air in the form of microscopic droplets. The exhaust fan is designed to capture these particles through a filtration system, typically consisting of metal mesh filters. While this system protects your home, it also means the filters become a trap for grease. In tropical climates or homes with high humidity, this grease can mix with moisture to form a heavy, gummy substance that is much harder to remove than dry dust.
If the grease is left untreated, it undergoes a chemical change, becoming more viscous and harder to dissolve. Eventually, the grease can migrate from the filters to the fan motor and the internal ductwork. This not only makes cleaning much more difficult but can also strain the motor, leading to premature equipment failure.
Essential tools for cleaning grease
Before starting the cleaning process, gather the necessary supplies to ensure the job is done efficiently and safely. Depending on the severity of the buildup, you may need different cleaning agents.
| Tool/Agent | Purpose |
|---|---|
| Degreasing Agent | Dish soap, specialized degreaser, or baking soda paste to break down fats. |
| Warm Water | To help dissolve oils and rinse away loosened grime. |
| Soft Scrub Brush | To clean mesh filters and fan blades without damaging the surface. |
| Microfiber Cloth | For wiping down the exterior housing and drying components. |
| Sponge or Scraper | For removing heavy, thick layers of congealed grease. |
Step by step cleaning process
Cleaning a kitchen exhaust fan requires a systematic approach to ensure all components are addressed without damaging the electrical parts of the unit.
Safety first Always turn off the power to the exhaust fan before beginning. If the fan is connected to a wall switch, turn it off; for added safety, you may want to turn off the circuit breaker associated with the kitchen appliances.
Removing the filters Most modern exhaust fans have removable metal mesh filters. Slide or unclip them from the housing. If the filters feel stuck, do not force them; instead, apply a small amount of degreaser around the edges to loosen the grip of the grease.
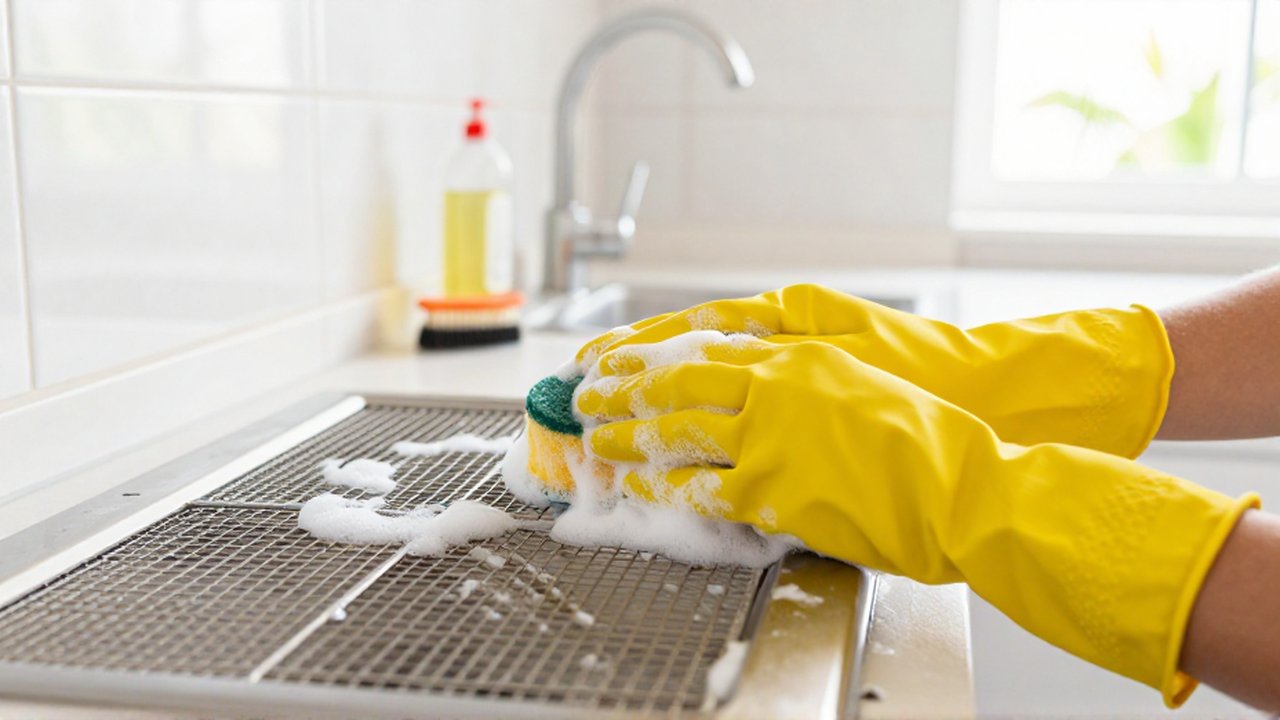
Soaking the filters Fill a sink or a large basin with very hot water and a generous amount of degreasing dish soap. Submerge the filters completely. For very heavy buildup, adding baking soda to the water can enhance the cleaning power. Let them soak for at least 15 to 30 minutes. This step is crucial as it allows the chemical agents to penetrate the solidified grease.
Scrubbing and rinsing After soaking, use a soft brush to scrub the mesh. Move in circular motions to ensure the cleaner reaches all sides of the metal wires. Rinse the filters thoroughly under running hot water to remove any remaining residue or soap.
Cleaning the fan blades and housing While the filters soak, use a damp cloth or sponge with degreaser to wipe the fan blades and the interior of the hood. Be careful not to spray liquid directly into the motor area. For the blades, a steady, gentle wiping motion is best to avoid bending them. Always wipe the underside of the exhaust hood to prevent grease from dripping back onto your stove later.
Drying and reassembly Ensure all parts are completely dry before putting them back. Reinstall the filters securely and turn the power back on to test the suction.
Common mistakes to avoid
One of the most frequent errors is using abrasive materials, such as steel wool or harsh scouring pads, on the metal filters or the fan blades. These can scratch the finish or damage the delicate mesh, making it even more prone to catching grease in the future.
Another common mistake is neglecting the fan motor area. While you should never soak the motor, a light dusting or a wipe with a slightly damp cloth can prevent grease from seizing the moving parts. Finally, do not underestimate the importance of the drying stage; installing damp filters can lead to moisture buildup inside the ventilation system, which promotes mold growth.
Frequently asked questions
How often should I clean my kitchen exhaust fan? For homes where frying or heavy cooking is common, cleaning the filters once a month is recommended. If you cook lightly, a deep clean every three months may be sufficient.
Can I put my exhaust fan filters in the dishwasher? Many metal mesh filters are dishwasher safe. However, check your manufacturer's manual first. High heat in a dishwasher can sometimes warp certain types of filters or damage specialized coatings.
What is the best natural degreaser for kitchen grease? A mixture of baking soda and warm water creates an effective paste for heavy grease. Additionally, white vinegar diluted with water can help cut through lighter oil residues and leave a clean scent.
Why is my fan making a loud noise after cleaning? If the noise started after cleaning, ensure that the filters are seated correctly and that no cleaning cloths or debris are obstructing the fan blades. If the noise persists, a blade may have been accidentally bent during scrubbing.
Leave a Reply