
Best ways to upgrade kitchen cabinets on a budget

Introduction
Kitchen cabinets are the visual centerpiece of any home, acting as the foundation for the room's overall aesthetic and organization. When these cabinets show signs of wear, outdated styles, or damage, they can make an entire kitchen feel neglected. Upgrading them is one of the most effective ways to revitalize your living space and potentially increase home value without the massive expense of a full kitchen remodel.
Choosing to upgrade rather than replace is an ideal strategy when your existing cabinet structures are sturdy and functional. This approach allows you to focus your investment on surface-level aesthetics and modern hardware, which can fundamentally transform the atmosphere of the room. By utilizing creative, budget-friendly methods, you can achieve a high-end look that feels intentional and fresh.
Replace hardware and handles
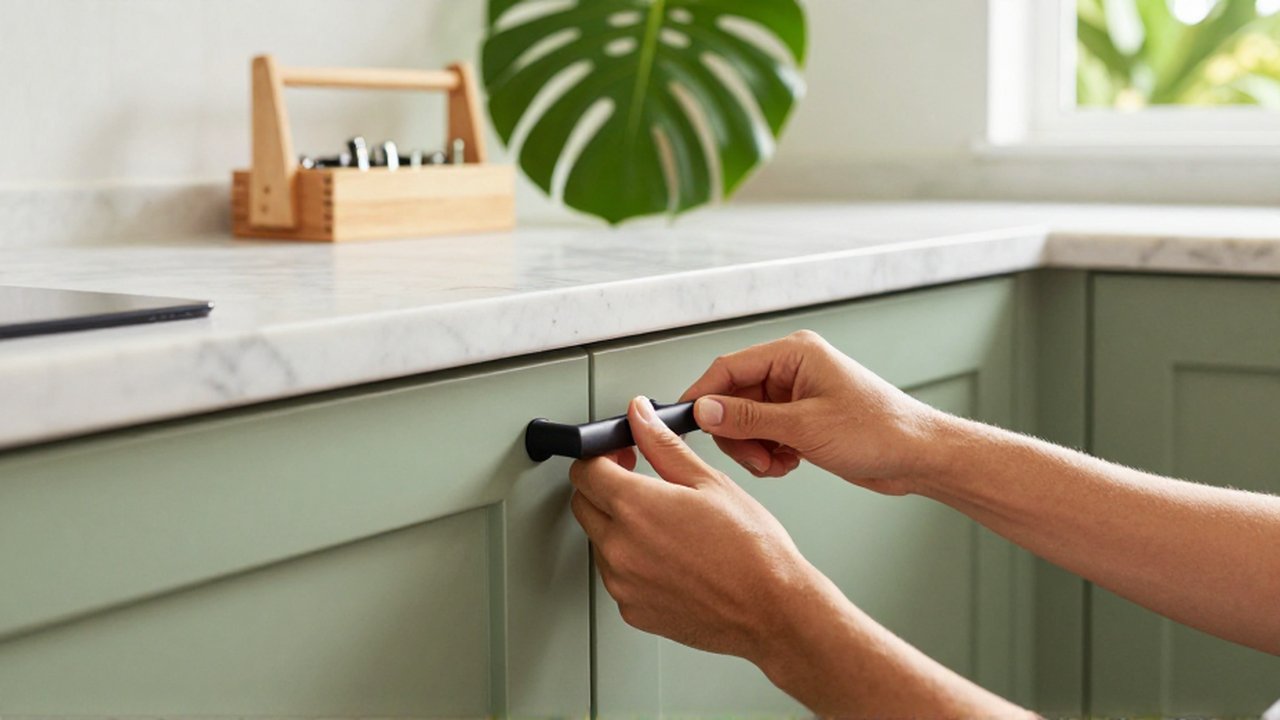
One of the simplest and most impactful ways to change the look of your kitchen is by swapping out the existing hardware. Knobs and pulls are the "jewelry" of the kitchen; even a subtle change can shift the style from traditional to modern or farmhouse to contemporary. This task requires minimal tools and can be completed in a single afternoon.
When selecting new hardware, consider the scale and finish of your kitchen. For a modern look, sleek matte black or brushed gold handles are popular choices. If you prefer a classic feel, polished nickel or bronze pulls work well. Ensure that the new hardware matches the size of the existing screw holes to avoid the need for drilling new holes in the cabinet doors, which can damage the finish.
Paint or refinish cabinet surfaces

Painting your cabinets is perhaps the most dramatic transformation you can achieve on a budget. If your cabinets are made of solid wood or high-quality MDF, a fresh coat of paint can make them look brand new. This method is particularly useful when your cabinets are in good structural condition but the color or texture is outdated.
To achieve a professional result, follow a disciplined process:
- Deep Cleaning: Remove all grease and grime using a degreaser to ensure the paint adheres properly.
- Sanding: Lightly sand the surfaces to create "teeth" for the new coating to grip.
- Priming: Use a high-quality primer, especially if you are transitioning from a dark color to a light one.
- Painting: Apply multiple thin layers of specialized cabinet paint rather than one thick layer to prevent drips and uneven textures.
Be aware that painting requires patience and a controlled environment to avoid dust settling on wet surfaces.
Update cabinet doors and fronts
If the cabinet boxes are in excellent condition but the doors look dated or damaged, you may not need to replace the entire unit. You can often purchase replacement door fronts that fit your existing cabinet frames. This "refacing" technique allows you to keep the structural integrity of your kitchen while completely changing the visual profile.
This option provides more customization than painting alone. You can choose different styles, such as Shaker-style doors for a timeless look or flat-panel doors for a minimalist aesthetic. While more expensive than paint, it is significantly cheaper than purchasing and installing entirely new cabinetry.
Improve organization and interior functionality
An upgrade is not solely about what is visible on the outside; how the cabinets function internally is a crucial part of a kitchen upgrade. Improving the interior organization can make the kitchen feel more modern and efficient, even if the exterior remains the same.
Consider adding internal accessories to maximize your space:
- Pull-out shelves: These eliminate the need to reach into the back of deep cabinets.
- Lazy Susans: Ideal for corner cabinets to prevent dead space.
- Spice racks and divider inserts: These help organize small items and prevent clutter.
- Under-cabinet lighting: While technically an electrical addition, it highlights new cabinet finishes and improves task lighting.
Common mistakes to avoid during upgrades
When attempting a budget upgrade, it is easy to make errors that can undermine the final result or lead to more work later. One frequent mistake is rushing the preparation phase, particularly when painting. Skipping the degreasing or sanding steps often results in paint peeling or bubbling within months.
Another mistake is choosing hardware that is too small or too large for the door style, creating a visual imbalance. Furthermore, avoid using standard wall paint for cabinets; cabinet paint is specifically formulated to be harder and more resistant to the humidity and frequent cleaning common in kitchens. Finally, do not attempt to paint cabinets made of laminate or thermofoil without researching specific bonding primers, as these surfaces are notoriously difficult to coat.
Frequently asked questions
How long does it typically take to paint kitchen cabinets? A DIY project usually takes anywhere from a weekend to a full week, depending on the number of layers required and the time needed for drying and curing between applications.
Can I upgrade cabinets if they are made of particle board? Yes, but you must use a high-quality primer designed for smooth surfaces to ensure the paint sticks properly to the non-porous material.
Is it better to change handles or paint the cabinets first? Always paint or refinish the cabinets before installing new hardware. This ensures that any drips or mistakes made during the painting process do not ruin your new handles.
When should I choose replacement instead of upgrading? If the cabinet boxes are warped, rotting, or structurally unsound due to water damage, an upgrade is no longer viable, and full replacement becomes necessary for safety and longevity.
Leave a Reply