
Steps to install motion sensor lights for home security
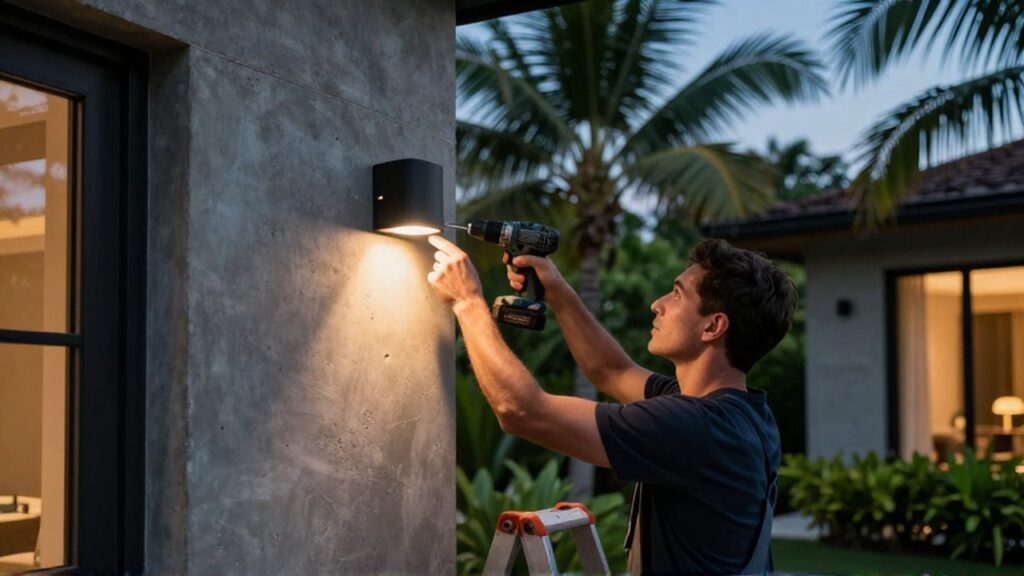
Introduction
Installing motion sensor lights is one of the most effective and cost-efficient ways to enhance the security of a residential property. These devices work by detecting infrared radiation or movement within a specific field of view, automatically triggering illumination to deter potential intruders. By eliminating dark corners and unexpected shadows, motion sensors provide a psychological deterrent and visual confirmation of activity around the perimeter of the home.
This type of lighting is particularly appropriate for areas such as driveways, backyard entrances, side walkways, and garage approaches. Implementing these lights is a proactive step in home maintenance that adds a layer of protection without the constant energy drain of traditional floodlights. Whether you are looking to improve visibility for late-night arrivals or reinforce your home's defenses, understanding the correct installation process is essential for maximum effectiveness.
Benefits of motion sensor lighting
Motion sensor lights offer several advantages that go beyond simple illumination. The primary benefit is deterrence; most intruders rely on the cover of darkness to remain undetected, and an abrupt burst of light can cause them to flee the scene immediately. Additionally, these lights contribute significantly to energy efficiency. Unlike standard outdoor lights that stay on all night, motion sensors only consume electricity when movement is detected, reducing your monthly utility costs.
From a practical standpoint, these lights offer enhanced convenience and safety. They provide hands-free lighting when you arrive home with groceries or when walking through a dark garden, preventing trips and falls. For homeowners looking to maintain a secure environment, these sensors act as an early warning system, notifying residents of movement near the property boundaries.
Essential tools and preparation
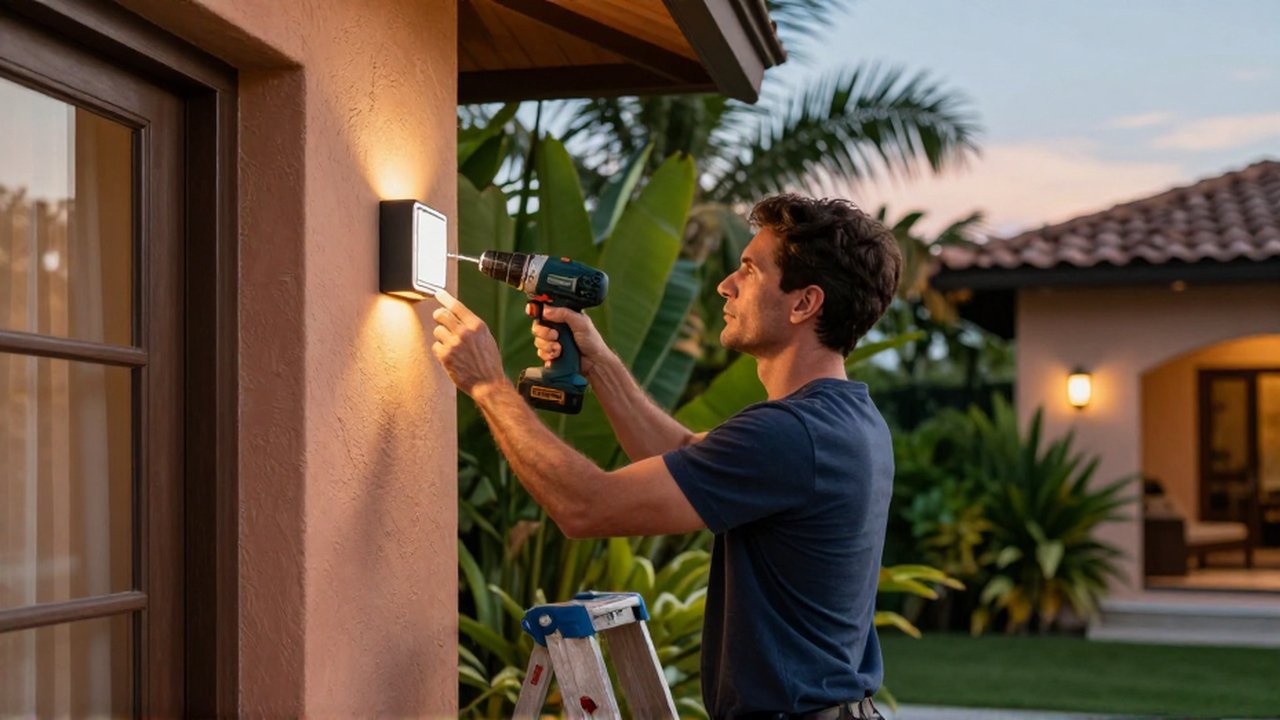
Before beginning the installation, you must gather the necessary tools and prepare the work area to ensure a smooth process. Most installation kits include the light fixture and mounting hardware, but you will likely need standard household tools.
The typical toolkit includes:
- A power drill with appropriate bits.
- Screwdrivers (Phillips and flathead).
- Wire strippers and electrical tape.
- A voltage tester to ensure power is off.
- A sturdy ladder.
- Level to ensure the fixture is straight.
It is crucial to identify the power source. If you are replacing an existing light, the wiring will already be present. If you are installing a new fixture, you may need to run electrical lines from an existing junction box. Always confirm that the power is turned off at the main circuit breaker before touching any wiring to prevent electrical shocks.
Step by step installation process
The installation process can vary slightly depending on whether you are replacing an old fixture or installing a brand-new unit, but the general logic remains the same.
Select the optimal mounting location Choose a spot that offers a wide field of view without being obstructed by foliage or architectural features. The height is also critical; the light should be high enough to prevent tampering but low enough to ensure the sensor can accurately detect movement.
Mount the bracket If the light uses a mounting plate or bracket, hold it against the wall and use a level to ensure it is straight. Mark the screw holes with a pencil, drill pilot holes, and secure the bracket to the wall using the provided screws or appropriate wall anchors.
Connect the wiring Uncover the wires from your power source and the light fixture. Strip a small amount of insulation from the ends if necessary. Connect the wires according to the color-coding (typically black to black for hot, white to white for neutral, and green or bare copper for ground). Secure these connections firmly using wire nuts and wrap them with electrical tape for extra insulation.
Attach the fixture and test Feed the wires through the mounting bracket and secure the light fixture to the wall. Once firmly attached, turn the power back on at the breaker. Before finalizing the position, test the sensor by walking in front of it to ensure the light activates as expected.
Adjusting sensor sensitivity and range
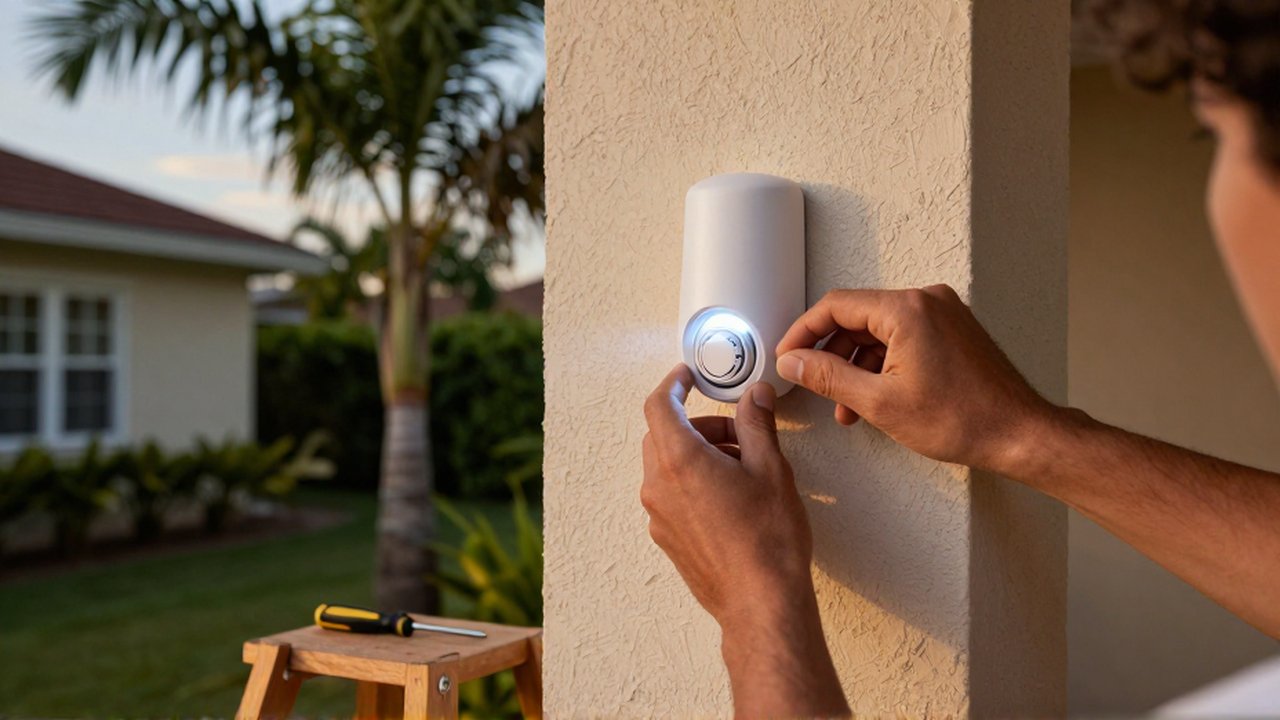
Most modern motion lights feature adjustable settings that allow you to fine-tune how the device performs. These adjustments are vital to prevent "false positives," such as the light turning on every time a tree moves in the wind or a small animal passes by.
Common adjustments include:
- Sensitivity: This controls how much movement or heat change is required to trigger the light. Lowering the sensitivity can help ignore wind-blown branches.
- Time Delay: This determines how long the light stays on after motion has ceased. For security, a slightly longer delay is often preferable.
- Lux Setting: This allows you to set the ambient light threshold. For example, you can set the sensor to only activate when it is dark, preventing it from triggering during daylight hours.
Common installation mistakes to avoid
To ensure the longevity and effectiveness of your security lighting, avoid these frequent errors:
| Mistake | Consequence | Corrective Action |
|---|---|---|
| Mounting too low | The light can be easily reached and disabled by an intruder. | Install at a height of 7 to 10 feet. |
| Ignoring obstacles | Bushes or fences can create "blind spots" where movement goes undetected. | Clear any obstructions from the sensor's path. |
| Poor weatherproofing | Moisture can enter the unit, causing short circuits or corrosion. | Ensure all seals are tight and use outdoor-rated components. |
| Incorrect sensitivity | Frequent false triggers lead to "alarm fatigue" and wasted energy. | Test the sensor in different weather conditions and adjust settings. |
Frequently asked questions
Can I install motion sensor lights without existing wiring? Installing lights without existing wiring requires running new electrical lines, which is a more complex task. If you are not comfortable with electrical work, it is highly recommended to hire a professional electrician for this specific part of the job.
Will a motion sensor light work during the day? Most motion sensor lights include a light sensor (photocell) that prevents them from turning on during the day. This is designed to save energy. You can usually adjust this setting so the sensor only becomes active at dusk.
How much maintenance do these lights require? Motion sensor lights are relatively low-maintenance. However, you should periodically clean the sensor lens to remove dust, spider webs, or debris that might interfere with its ability to detect movement. You should also check for any signs of water ingress or loose mounting hardware.
Leave a Reply