
How to fix cracks in Dominican villa concrete walls
Introduction
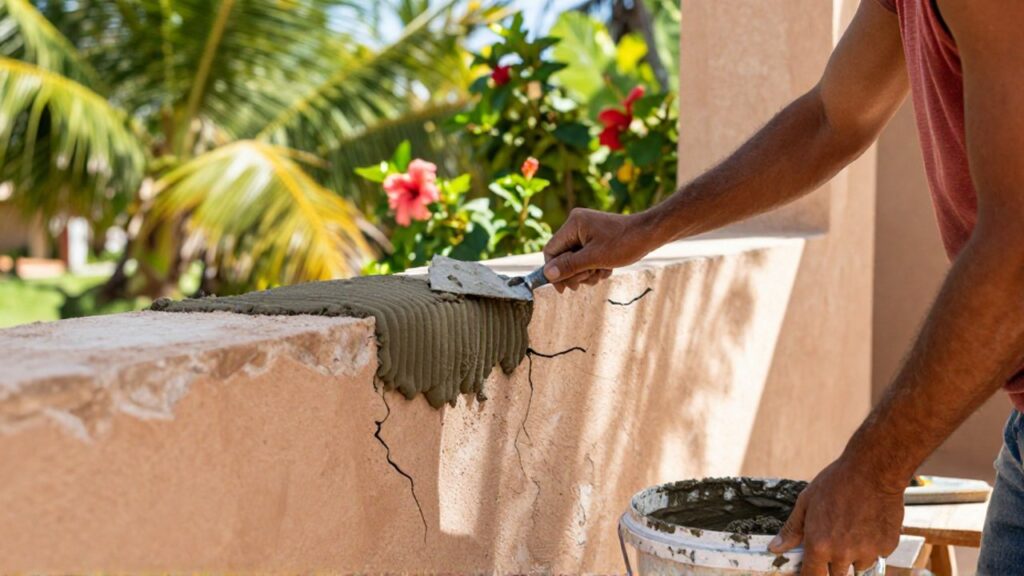
Cracks in concrete walls are a common occurrence for villa owners across the Dominican Republic. These fissures can range from tiny hairline fractures to wide, structural gaps that threaten the integrity of a home. Addressing them promptly is essential to maintain the aesthetic value of your property and, more importantly, to prevent moisture from seeping into your structure. In a tropical climate characterized by high humidity and intense seasonal rains, an untreated crack can quickly become an entry point for mold and salt air corrosion.
Repairing these cracks is a necessary part of preventative maintenance for any residence. By understanding the nature of the damage and applying the correct sealing techniques, you can extend the lifespan of your concrete surfaces and protect your interior living spaces. This guide provides a practical approach to identifying, preparing, and fixing common wall cracks, ensuring your villa remains a durable and safe sanctuary.
Common causes of concrete cracking in the tropics
Understanding why cracks appear is the first step in choosing the right repair method. In the Dominican Republic, several environmental and structural factors contribute to wall damage. One of the primary culprits is thermal expansion and contraction. The intense tropical sun heats the concrete during the day, causing it to expand, while the cooler nights cause it to shrink. Over time, this repeated movement creates stress that manifests as surface cracks.
Soil movement also plays a significant role. Many villas are built on terrain that may shift due to heavy rainfall or changes in groundwater levels. This shifting can cause the foundation or the walls to settle unevenly, leading to larger, more structural cracks. Additionally, the high salinity in coastal areas can lead to the corrosion of internal steel reinforcements (rebar). When rebar rusts, it expands, exerting immense pressure from within the concrete and forcing cracks to appear on the surface.
Identifying different types of cracks
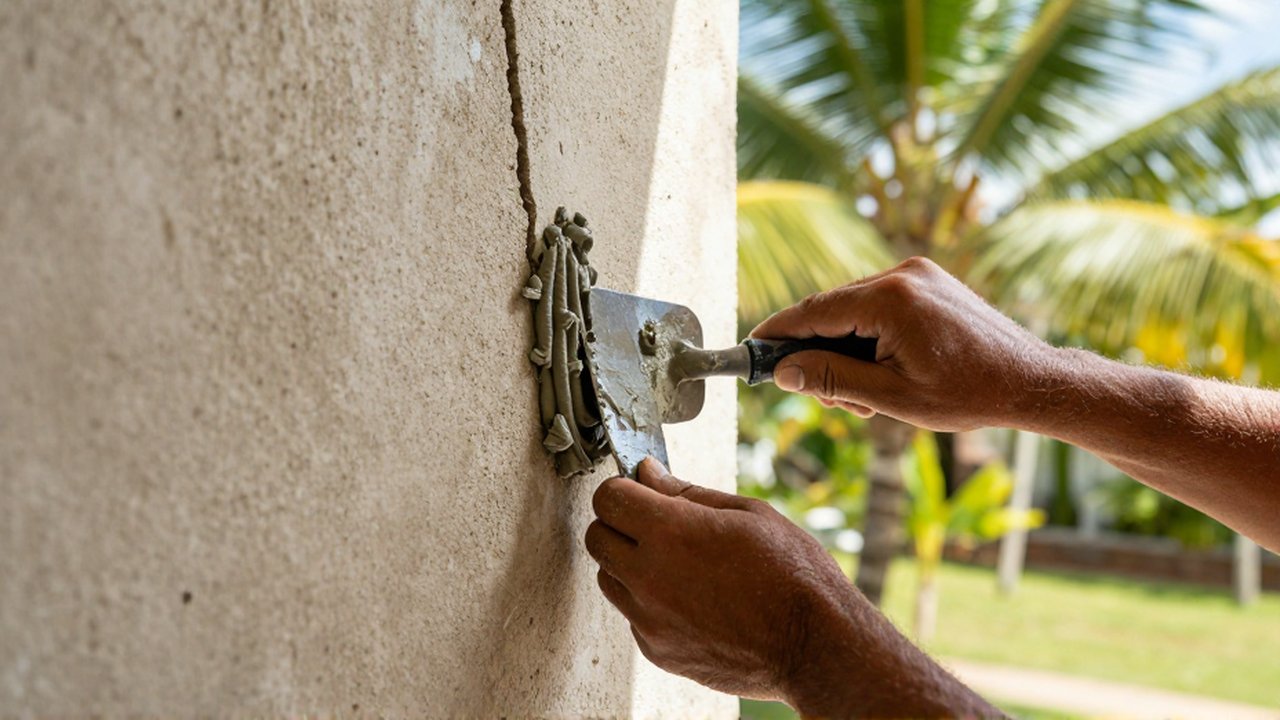
Before you reach for your tools, you must categorize the damage. Not all cracks require the same level of intervention. Identifying the type of crack helps you decide whether a DIY repair is sufficient or if you need to consult a structural engineer.
- Hairline cracks: These are very thin, superficial cracks typically found on the surface of the plaster or the outer layer of concrete. They are usually caused by shrinkage during the curing process or minor thermal changes.
- Vertical or horizontal cracks: These often follow the lines of the structural elements. Horizontal cracks can sometimes indicate lateral pressure against the wall, while vertical cracks might be related to settling.
- Diagonal cracks: These are often more serious, as they frequently indicate uneven foundation settlement. If a crack runs diagonally from a corner or a window frame, it warrants closer inspection.
- Structural cracks: These are characterized by significant width (usually wider than a coin) or depth. If you can see through the crack or if it appears to continue through the entire thickness of the wall, it is a structural issue.
Essential tools and materials for repair
To perform a successful repair, you will need a specific set of materials designed to withstand the local climate. Using standard indoor putty for outdoor concrete walls will result in immediate failure due to humidity and UV exposure.
| Material/Tool | Purpose |
|---|---|
| Wire brush or scraper | To clean debris and loose concrete from the crack. |
| Hammer and chisel | To widen the crack slightly into a "V" or "U" shape. |
| Concrete crack filler | A specialized mastic, epoxy, or polymer-based sealant. |
| Putty knife or trowel | To apply and smooth the filler material. |
| Sandpaper | To smooth the surface after the filler has dried. |
| Waterproofing sealant | An outer layer to protect the repair from rain. |
Step by step process for fixing cracks
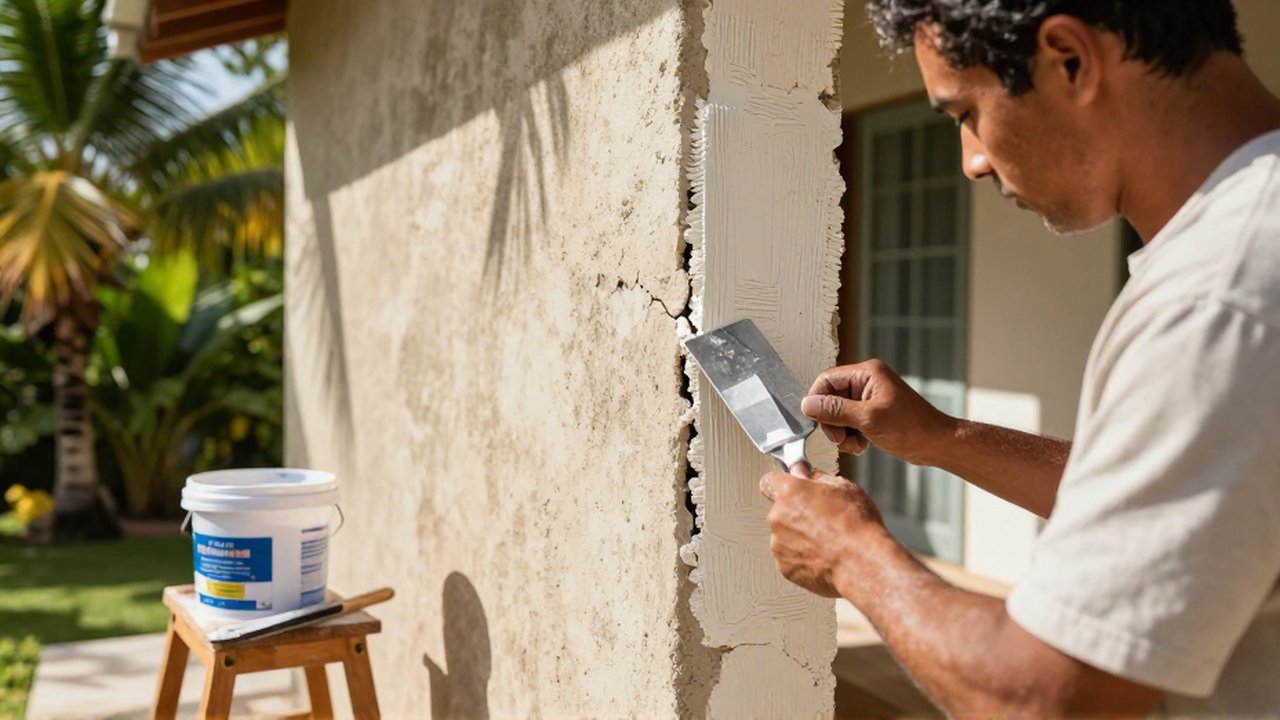
Once you have identified the crack and gathered your supplies, follow these steps to ensure a long-lasting repair.
First, prepare the crack. Use a hammer and chisel to carefully widen the crack into a "V" shape. This is a critical step because a thin crack does not provide enough surface area for the filler to bond effectively. Once widened, use a wire brush to scrub the inside of the crack, removing all loose dust, old paint, and organic matter. The area must be completely dry and clean before proceeding.
Second, apply the filler. Depending on the depth of the crack, you may need to apply the filler in multiple layers. For deeper cracks, fill the gap halfway, allow it to cure according to the product instructions, and then apply a second layer to bring it level with the wall surface. Use a putty knife to press the material firmly into the gap to eliminate air pockets.
Third, finish and seal. Once the filler is fully cured, use sandpaper to smooth the patch so it is flush with the surrounding wall. Finally, apply a high-quality, UV-resistant waterproofing sealant or a specialized masonry paint over the area. This creates a barrier that prevents water from re-entering the crack through the repair site.
Mistakes to avoid during concrete repair
The most common mistake is attempting to patch a crack without cleaning it first. If you apply filler over dust or loose debris, the patch will eventually peel away, leaving the crack exposed. Another mistake is using non-flexible fillers for cracks caused by thermal movement. In the Dominican Republic, using a rigid cement patch for a crack that moves with the heat will result in the patch cracking again within weeks. Always opt for flexible, polymer-modified sealants for exterior walls.
Furthermore, never ignore wide diagonal cracks. While it is tempting to simply patch them to improve the look of the villa, these often signal deeper foundation issues that require professional stabilization. A superficial patch on a structural problem is a temporary fix that can provide a false sense of security.
Frequently asked questions
Can I fix cracks myself or do I need a professional? If the cracks are hairline or superficial and limited to the surface, you can easily handle them with DIY methods. However, if the cracks are wide, diagonal, or appear to be moving, you should consult a structural engineer to ensure the building's safety.
How long does it take for the repair to dry? Drying times vary significantly based on the product used and the local humidity. In the Dominican Republic's humid climate, it is best to allow more time than suggested on the packaging, and you should avoid repairing walls during the peak of the rainy season.
Will the crack reappear after I fix it? If the crack was caused by simple shrinkage or temperature changes and you use a flexible, high-quality sealant, it is unlikely to reappear. However, if the crack is caused by ongoing ground movement or foundation settling, the crack may reappear regardless of the repair quality.
Do I need to repaint the whole wall? For the best aesthetic result, it is recommended to repaint the entire section of the wall. Patching a single area often leaves a visible "scar" because the new paint texture and color will differ slightly from the weathered original paint.
Leave a Reply