
Best tools for dusting electronics and home office gear

Introduction
Dust accumulation on electronic devices and home office equipment is more than just an aesthetic issue; it is a matter of performance and longevity. In environments where humidity and dust particles are prevalent, fine debris can settle inside cooling vents, coat delicate sensors, and clog internal components. This buildup can lead to overheating, hardware malfunctions, and even permanent damage to expensive technology like computers, monitors, and printers.
Learning how to dust these sensitive items correctly is essential for maintaining a productive workspace. Unlike standard household furniture, electronics require specialized tools that do not generate static electricity or apply excessive moisture. Using the wrong cleaning agent or a standard feather duster could result in electrostatic discharge or liquid damage, rendered your gear unusable.
Selecting the right toolkit allows you to clean effectively without risking your investment. By using dedicated tools designed for delicate surfaces, you ensure that dust is actually removed rather than simply redistributed across your desk. This guide outlines the most effective tools for maintaining a clean, functional, and safe home office environment.
Essential tools for delicate surfaces
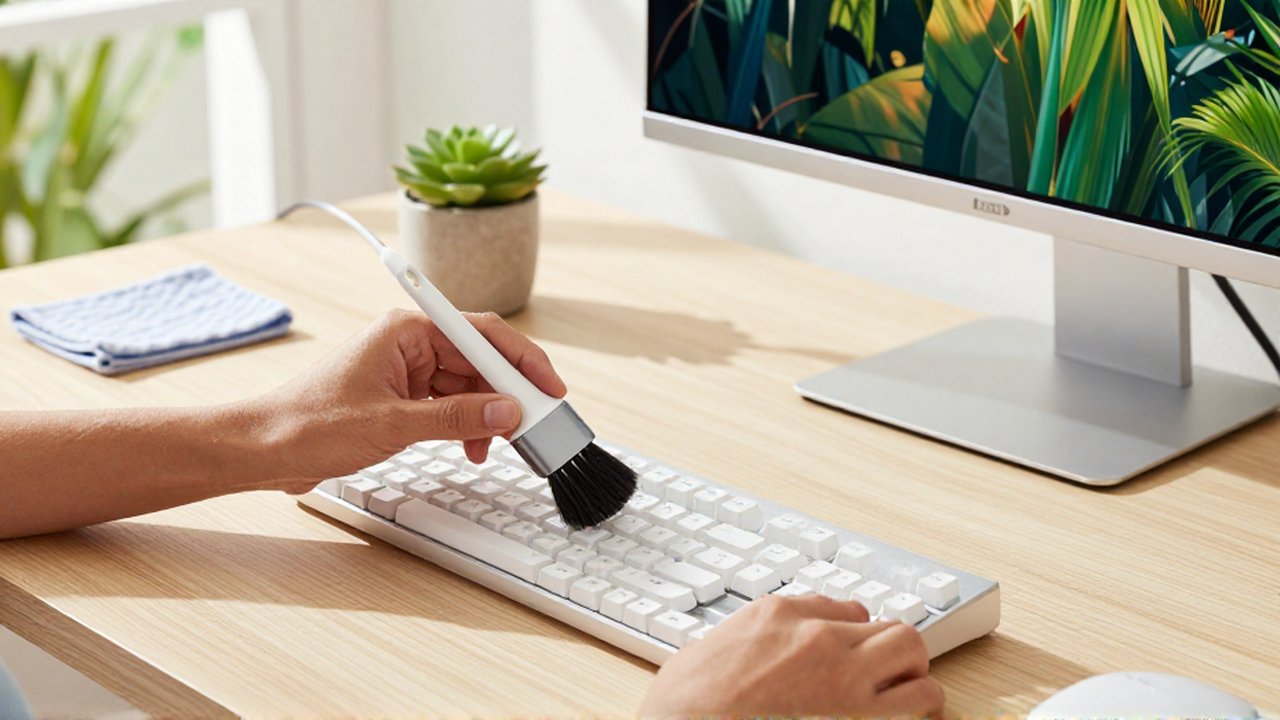
When approaching electronics, the primary goal is to remove dust without introducing moisture or static. Standard cleaning cloths used for windows or wooden furniture are often too abrasive or too absorbent for screens and delicate plastic casings.
Microfiber cloths are the gold standard for home office maintenance. These cloths are designed to trap dust particles within their fibers rather than pushing them around. For electronics, it is best to use high-quality, lint-free microfiber. These are ideal for wiping down monitor screens, laptop lids, and the smooth surfaces of keyboards. They are effective because they pick up oils and dust without the need for heavy scrubbing.
Soft-bristled brushes are indispensable for reaching tight spaces. Small, anti-static brushes are specifically designed to sweep dust out of crevices, such as the gaps between keyboard keys or the seams of a computer mouse. For larger tasks, a clean, soft makeup brush or a dedicated soft paintbrush can work well to gently dislodge dust from decorative items or speaker grilles without scratching the finish.
Specialized gear for internal and hard-to-reach areas
Some dust settles in places where a cloth cannot reach, specifically inside cooling systems and ports. For these areas, mechanical removal of air is the most effective method.
Compressed air canisters are the most common tool for cleaning out keyboards and computer vents. The high-pressure blast of air dislodges particles from deep within the hardware, blowing them out of the device. It is crucial to use these in short bursts to prevent the canister from becoming too cold, which can cause condensation. When cleaning a computer, always aim the air at an angle to ensure the dust is blown out of the device rather than pushed deeper into the circuitry.
Electric air dusters serve as a more sustainable, long-term alternative to disposable compressed air. These are small, handheld motorized devices that provide a continuous stream of filtered air. While they may have a higher initial cost, they are highly effective for regular home office maintenance and eliminate the need for frequent purchases of chemical canisters.
Comparison of dusting methods and tools
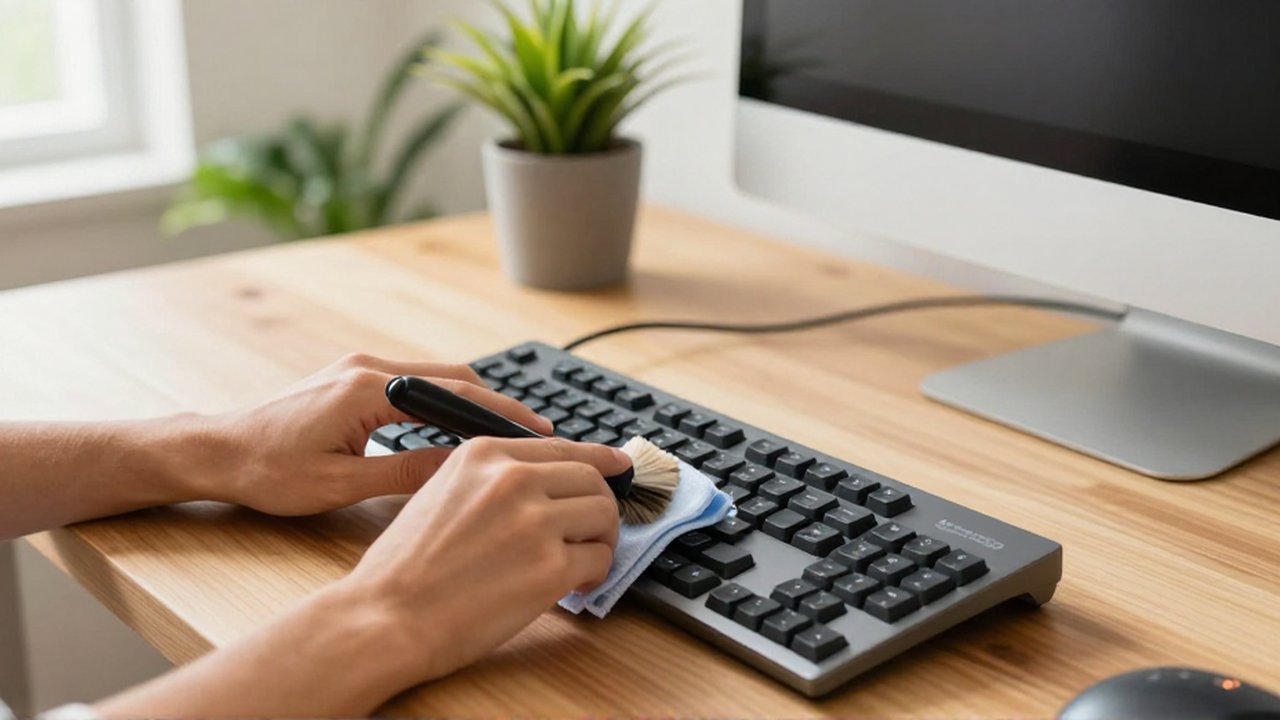
Choosing the right tool depends on the specific part of the office gear you are cleaning. The following table helps determine which tool is most appropriate for various components.
| Component | Recommended Tool | Reason |
|---|---|---|
| Monitor Screens | Microfiber Cloth | Prevents scratches and streaks |
| Keyboards | Compressed Air / Soft Brush | Removes debris from deep gaps |
| Computer Vents | Compressed Air / Electric Duster | Clears airflow obstructions |
| Mouse and Casing | Microfiber Cloth | Removes oils and surface dust |
| Cables and Wires | Microfiber Cloth / Dry Brush | Clears dust without snagging |
Common mistakes to avoid when dusting electronics
Maintaining an office requires precision, and several common errors can lead to hardware failure. One of the most frequent mistakes is using liquid cleaners directly on electronic surfaces. Even "electronics-safe" sprays should never be applied directly to a screen or a keyboard; instead, the cleaner should be applied to a microfiber cloth first. Excessive moisture can seep into the internal components, causing short circuits.
Another significant risk is the use of paper towels or tissues. While they seem soft, many paper products contain abrasive fibers that can leave micro-scratches on delicate monitor coatings or glossy plastic surfaces. Similarly, avoid using vacuum cleaners with standard plastic nozzles directly on electronic components. The friction between the plastic nozzle and the device can generate static electricity, which is a primary cause of electronic component failure.
Finally, never attempt to clean electronics while they are powered on or plugged in. Always shut down the device and disconnect it from the power source to ensure safety and to prevent any unexpected electrical surges during the cleaning process.
Frequently asked questions
Can I use a regular vacuum cleaner on my computer? Standard vacuum cleaners are not recommended for electronics because the suction and the plastic nozzle can create significant static electricity. If you must use a vacuum, use one specifically designed with an anti-static nozzle meant for electronics.
Is it safe to use water to clean my monitor? No, you should avoid using plain water as it may leave streaks or seep into the edges of the display. It is much safer to use a dry microfiber cloth or a specialized electronic cleaning solution applied sparingly to the cloth.
How often should I dust my home office gear? For a standard home office, a light dusting once a week can prevent significant buildup. However, if you live in a high-dust or high-humidity area, you may need to clean your vents and keyboards more frequently to ensure proper airflow.
What should I do if dust is stuck inside a laptop keyboard? The most effective method is to turn the laptop upside down and use compressed air to blow the debris out. You can also use a soft, anti-static brush to gently dislodge stubborn particles from between the keys.
Leave a Reply