
Common mistakes when painting interior walls
Introduction
Painting your interior walls is one of the most effective ways to refresh a living space, improve mood, and increase the aesthetic value of your home. Whether you are undertaking a complete renovation or simply updating a single room, a fresh coat of paint can transform the atmosphere from dull to vibrant. However, achieving a professional, smooth, and long-lasting finish requires more than just selecting a color and applying a brush.
Many homeowners attempt DIY painting projects to save money or personalize their environment, but they often encounter unexpected issues like streaking, peeling, or uneven textures. These problems usually stem from avoidable errors in preparation, technique, or material selection. Understanding these common pitfalls is essential for anyone looking to achieve a high-quality result that stands the test of time.
Skipping proper surface preparation
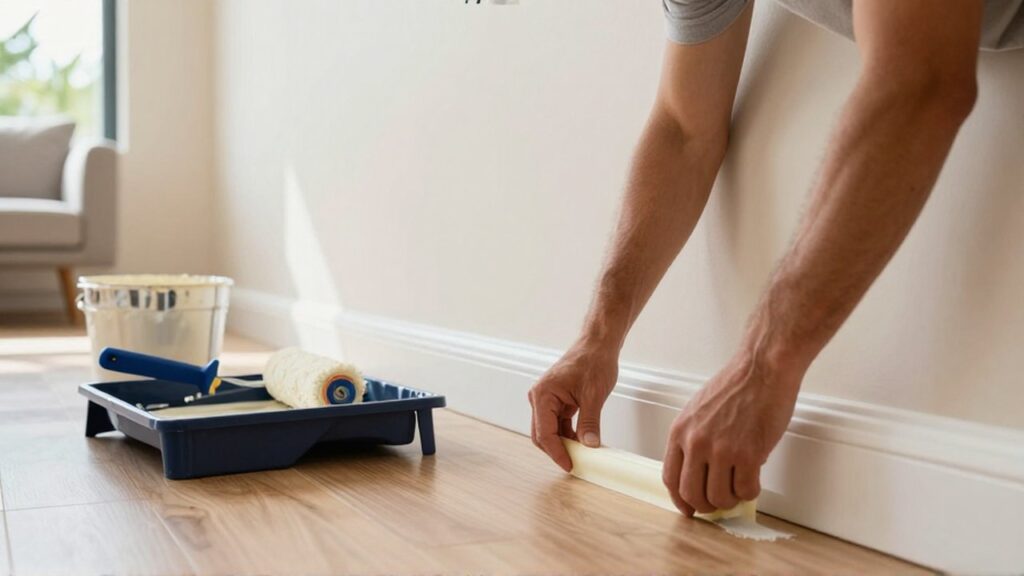
The most frequent mistake in any painting project is rushing the preparation stage. Many people believe that they can simply roll paint over existing walls, but this is a recipe for failure. If the walls are covered in dust, grease, or cobwebs, the new layer of paint will struggle to adhere, eventually leading to peeling or bubbling.
Effective preparation involves cleaning the walls with a mild detergent to remove oils and wiping them down with a damp cloth. Furthermore, if there are cracks, dents, or holes, these must be filled with spackle and sanded smooth before the first drop of paint touches the surface. Neglecting this step means you are essentially painting over flaws, which will only become more visible once the new color is applied.
Choosing the wrong type of paint
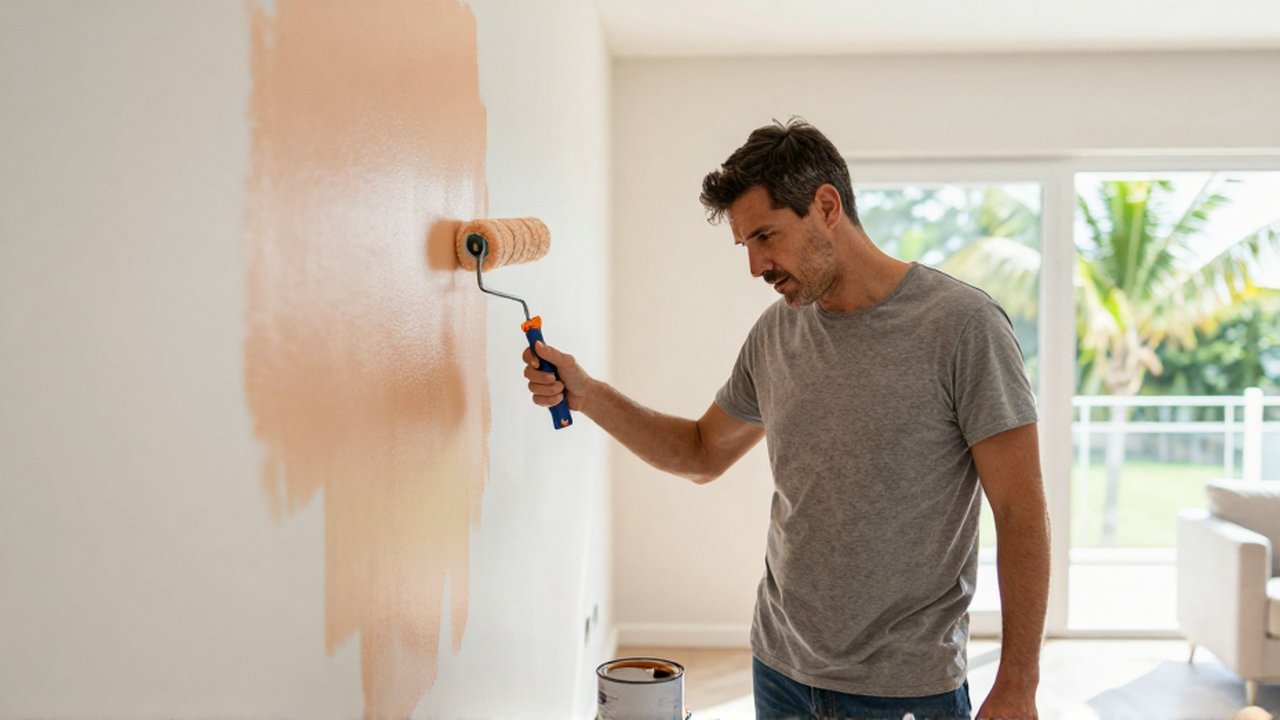
Selecting paint based solely on color is a common error that leads to poor functional results. Different rooms in a home have different environmental requirements. For example, using a flat, non-washable paint in a high-traffic hallway or a kitchen is a mistake because these areas are prone to scuffs and spills.
When choosing paint, consider the following criteria:
- Finish/Sheen: Flat finishes hide imperfections well but are hard to clean; satin or semi-gloss finishes are more durable and easier to wipe down, making them ideal for kitchens and bathrooms.
- Quality: Low-quality paints often have less pigment and more water, requiring more coats to achieve full coverage, which increases labor and time.
- Environment: In humid climates, selecting paint with moisture-resistant properties is crucial to preventing mold and mildew growth on the walls.
Neglecting the importance of primer
Many DIY enthusiasts assume that modern "paint + primer" in one products eliminate the need for a separate priming step. While these products work well for refreshing a wall of the same color, they are often insufficient for significant changes. If you are painting a light color over a very dark wall, or applying paint to a brand-new plastered surface, a dedicated primer is non-negotiable.
Primer serves as a uniform base that seals the surface and ensures the paint adheres evenly. Without it, the old color may bleed through the new layer, or the paint may soak into the wall unevenly, creating "flashing" or blotchy patches where some areas look shinier or darker than others.
Using incorrect tools and techniques
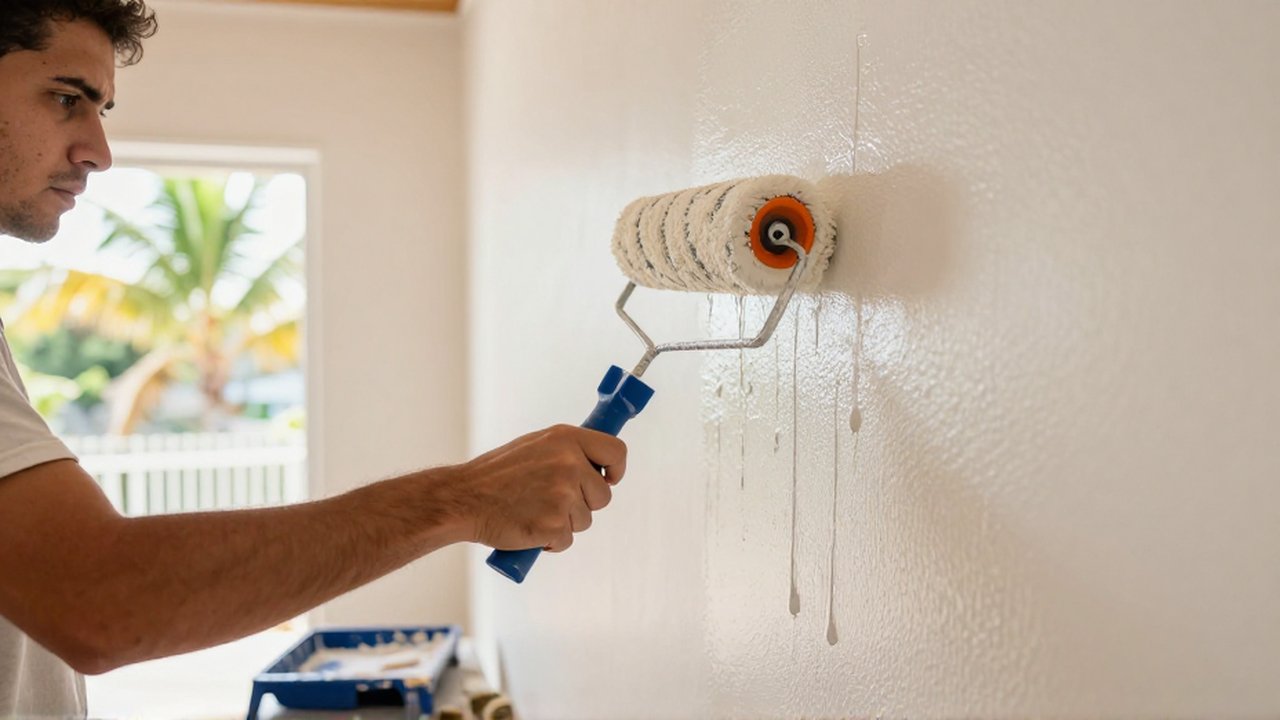
Using the wrong tools can make an arduous job feel impossible and result in a messy finish. A common mistake is using a brush that is too small for large surfaces or a roller with a nap (the thickness of the fibers) that is inappropriate for the texture of the wall. For example, a smooth wall requires a short-nap roller, whereas a textured wall needs a longer-nap roller to reach into the crevices.
Technique errors also play a significant role in the final look. Failing to "cut in" (painting the edges and corners with a brush before using a roller) results in messy lines. Additionally, applying paint too thickly can lead to drips and uneven drying, while applying it too thinly can cause streaking. It is vital to maintain a "wet edge" by working steadily from one side of the wall to the other to prevent visible lines where the paint has dried mid-application.
Ignoring environmental conditions
The environment in which you paint significantly affects the drying process and the final adhesion. Painting in a room that is too humid or too cold can prevent the paint from curing correctly, leading to a tacky surface or even cracking. In many tropical or coastal regions, high humidity can trap moisture under the paint film, causing it to swell and eventually peel.
Before starting, ensure the room is well-ventilated to allow fumes to escape and to facilitate even drying. While ventilation is important, avoid heavy drafts from fans or open windows during the actual application, as this can cause the paint to dry too quickly on the surface, resulting in visible brush marks or texture irregularities.
Frequently asked questions
How can I tell if I need a primer? You should use a primer if you are making a drastic color change, painting over repaired holes or patches, applying paint to bare drywall or wood, or if the existing wall surface is glossy or stained.
Why does my paint look streaky after it dries? Streaks are usually caused by applying the paint too thinly, not using enough paint on the roller, or failing to maintain a wet edge while working. Ensure you are using a consistent motion and applying an even layer.
How many coats of paint are actually necessary? While some high-quality paints claim to cover in one coat, most professional results require at least two coats to ensure deep color saturation and a uniform finish.
What should I do if I see drips while painting? If you notice a drip while the paint is still wet, use your brush or roller to gently smooth it out immediately. If the paint has already dried, you will need to lightly sand the area and reapply paint to level it.
Leave a Reply