
Effective steps to deep clean tiled floors in DR
Introduction
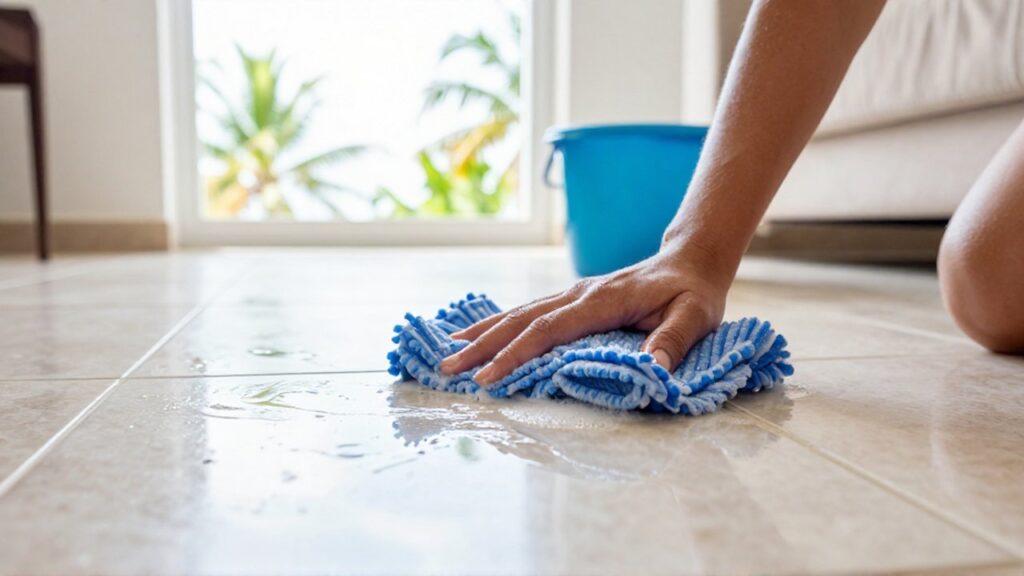
Maintaining clean tiled floors in the Dominican Republic presents unique challenges due to the tropical climate. High humidity levels and the constant influx of fine sand and dust from the outdoors can lead to a buildup of grime that standard sweeping cannot resolve. A deep clean is essential to restore the original luster of your tiles, protect the grout from mold and discoloration, and ensure a hygienic living environment for your family.
Performing a deep clean is most appropriate when you notice a dull film on the surface, dark staining in the grout lines, or a persistent gritty texture underfoot. Instead of daily mopping, which often just moves surface dirt around, a dedicated deep cleaning process targets the microscopic particles trapped in the porous sections of the flooring. This proactive approach prevents permanent staining and extends the lifespan of your home's surfaces.
Necessary tools and cleaning solutions
Before starting, you must gather the right equipment to avoid damaging the tile or wasting effort. The specific tools required may vary depending on whether you have ceramic, porcelain, or natural stone tiles, but a general kit should include:
- A stiff-bristled brush: Essential for scrubbing grout lines without scratching the tile surface.
- A microfiber mop or sponge: Better for picking up residue than traditional cotton mops.
- A vacuum cleaner with a hard-floor attachment: To remove loose sand and debris before applying liquids.
- Cleaning agents: Mild pH-neutral detergents are safest for most tiles. For stubborn tropical mold, a diluted vinegar solution or specialized grout cleaners may be used, but always test a small, inconspicuous area first.
- Warm water: Heat helps break down oils and organic buildup more effectively.
Preparation and dry cleaning phase
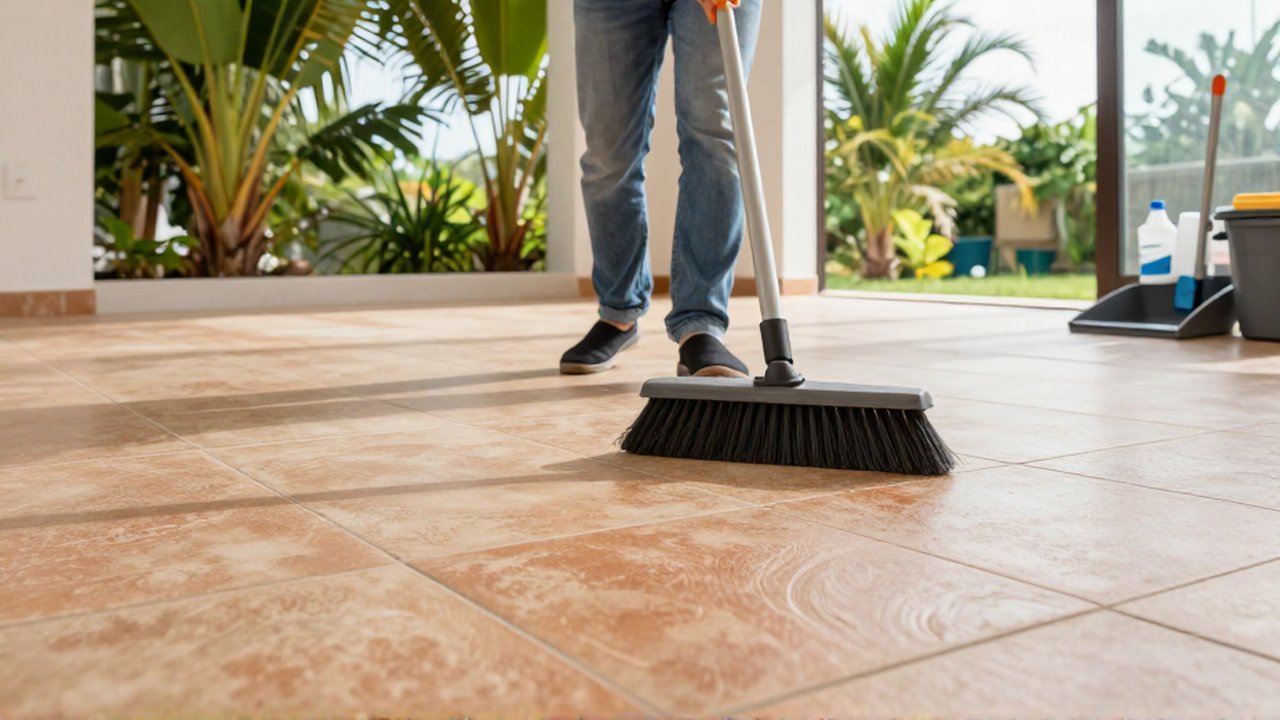
The most common mistake in floor maintenance is applying liquid cleaners to a floor that is still covered in loose debris. In the Dominican Republic, fine dust and sand can act like sandpaper if you mop them directly into the tile, causing micro-scratches.
Begin by removing all furniture, rugs, and decorative items from the area. Use a vacuum cleaner to thoroughly clean the entire surface, paying close attention to the corners and edges where dust tends to settle. If you do not have a vacuum, use a soft broom to sweep the area multiple times, ensuring that all loose particles are collected and removed from the room.
Deep cleaning the tiles and grout
Once the dry debris is removed, you can begin the wet cleaning process. This stage focuses on breaking down the stubborn grime that has accumulated in the grout and on the tile face.
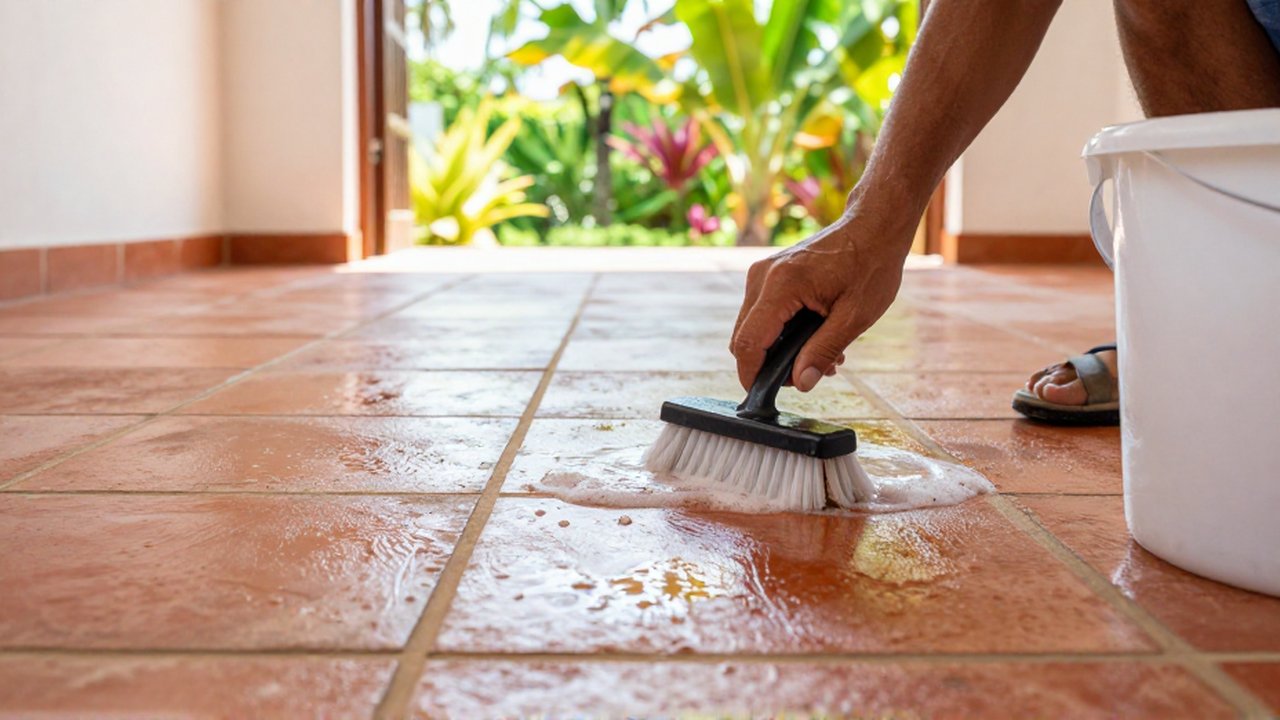
First, mix your chosen cleaning solution in a bucket of warm water. For standard ceramic or porcelain, a mild soap is usually sufficient. Dip your brush into the solution and scrub the grout lines specifically. Since grout is porous, it is the area most susceptible to absorbing humidity and bacteria. Apply firm, circular motions with the stiff brush to lift discoloration.
After scrubbing the grout, mop the tiles using the cleaning solution. Work in small sections to prevent the solution from drying on the tile before you can rinse it, which can leave unsightly streaks. Once a section is cleaned, rinse it with clean, plain water to remove any remaining detergent residue.
Drying and preventing moisture buildup
In a humid environment, leaving floors wet for too long can lead to slipping hazards and promote the growth of mildew in the grout. After rinsing, use a dry microfiber cloth or a clean mop to soak up as much moisture as possible.
Ensure adequate ventilation in the room during and after the cleaning process. Opening windows or turning on ceiling fans will help the floor dry quickly and prevent the air from becoming overly saturated with humidity. Fast drying is the best defense against the "cloudy" look that often appears on tiles in tropical climates.
Common cleaning mistakes to avoid
To protect your investment, avoid these frequent errors:
- Using highly acidic or alkaline cleaners: While they may seem powerful, harsh chemicals can erode grout and strip the finish off certain types of tiles.
- Overwatering the floor: Excessive water can seep into the subfloor or under the tiles, potentially causing structural issues or moisture trapped beneath the surface.
- Using abrasive steel wool: This can leave permanent scratches on polished or glazed tiles.
- Neglecting the grout: Cleaning only the tile surface while ignoring the grout lines will result in a floor that looks dirty even after mopping.
Frequently asked questions
How often should I deep clean my tiled floors? Depending on foot traffic and local dust levels, a deep clean is typically recommended every three to six months to maintain the integrity of the grout and the shine of the tiles.
Can I use bleach on all types of tiles? Bleach should be used with caution. While it kills mold, it can be too harsh for certain natural stones and can weaken grout over time if used frequently. Always check the tile manufacturer's recommendations.
Why do my tiles look cloudy after cleaning? Cloudiness is usually caused by leftover soap residue or hard water minerals. To fix this, rinse the floor more thoroughly with clean water and ensure you dry the surface immediately after cleaning.
How do I prevent sand from scratching my tiles? The best method is to implement a "no shoes" policy inside the home and use high-quality doormats at all entrances to catch sand and grit before it reaches the tiled areas.
Leave a Reply